How to Press Flowers From Your Garden: An Easy Step-By-Step Guide
Let’s explore how to press flowers to preserve their colors and delicate shapes long after the season has ended.

How to Press Flowers from the Garden
One of the best things about growing flowers is finding new ways to enjoy them-even after the growing season has passed. Pressing flowers is an easy way to preserve favorite blooms from your garden and turn them into botanical art, handmade cards, bookmarks, or keepsakes.
You don’t need much to get started. Flowers can be preserved with a traditional wooden flower press or simply tucked between the pages of a heavy book. The key is choosing the right blooms, harvesting them when they’re dry, and giving them enough time to press completely.
In this guide, I’ll show you how I press flowers from my garden, which flowers work best, what I’ve learned along the way, and a few simple ideas for using your finished pressed flowers.
Why Press Flowers from Your Garden?
A garden changes constantly. A flower that looks beautiful today may be gone a week from now, which is part of what makes growing flowers so special. Pressing a few favorite blooms lets you save a little piece of the garden to enjoy later.
Pressed flowers can also become a record of what’s growing in your garden from season to season. Try adding them to a garden journal, framing a collection of flowers from one summer, or preserving a bloom from a plant that has special meaning to you.
And don’t worry about creating perfect pressed flowers. Part of the fun is experimenting with different flowers and discovering which ones hold their shape and color best.
What You Need to Press Flowers
Tools you’ll need for pressing the flowers:
If you plan to frame your pressed flowers:
Ginger with Roots Tip!
Take a basket with you when collecting flowers from the garden. If you’ll be outside for a while, bring a small container of water to keep freshly cut stems hydrated until you’re ready to prepare them for pressing.

The Best Flowers for Pressing
- Thin or flat flowers have better results than heavy thick blossoms.
- Look for blooms with unique shapes and colors.
- Remember to include some leaves to add as accents.
- Skip flowers and leaves with lots of moisture that are prone to mildew in the press.
Good Choices for Pressing
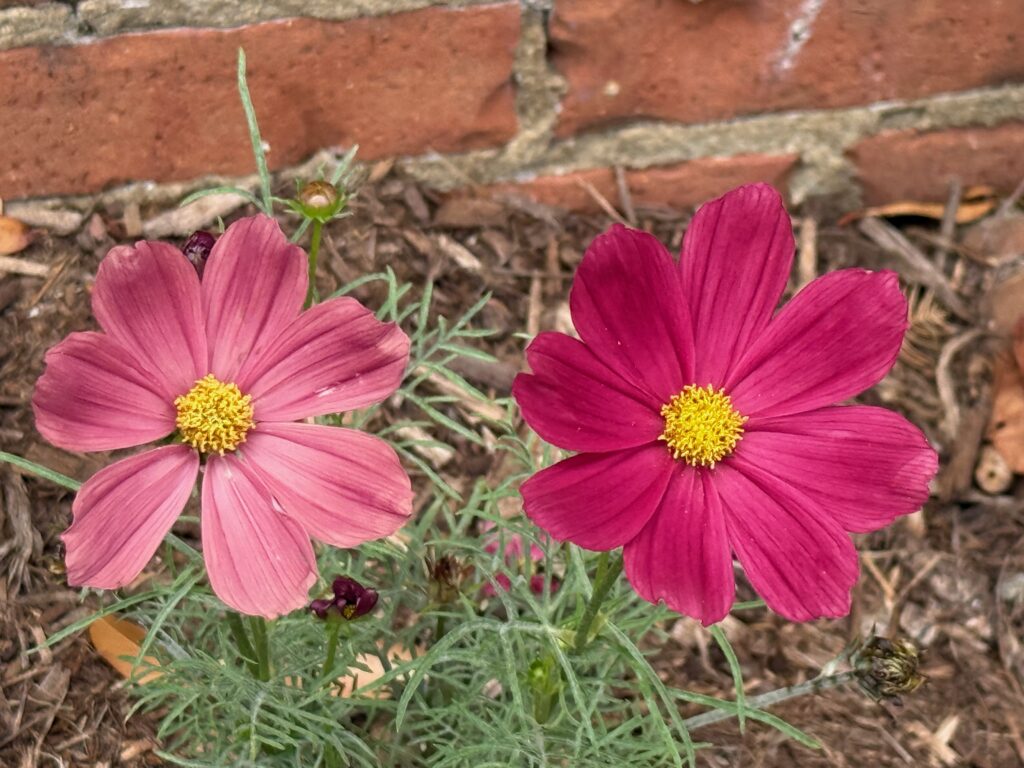
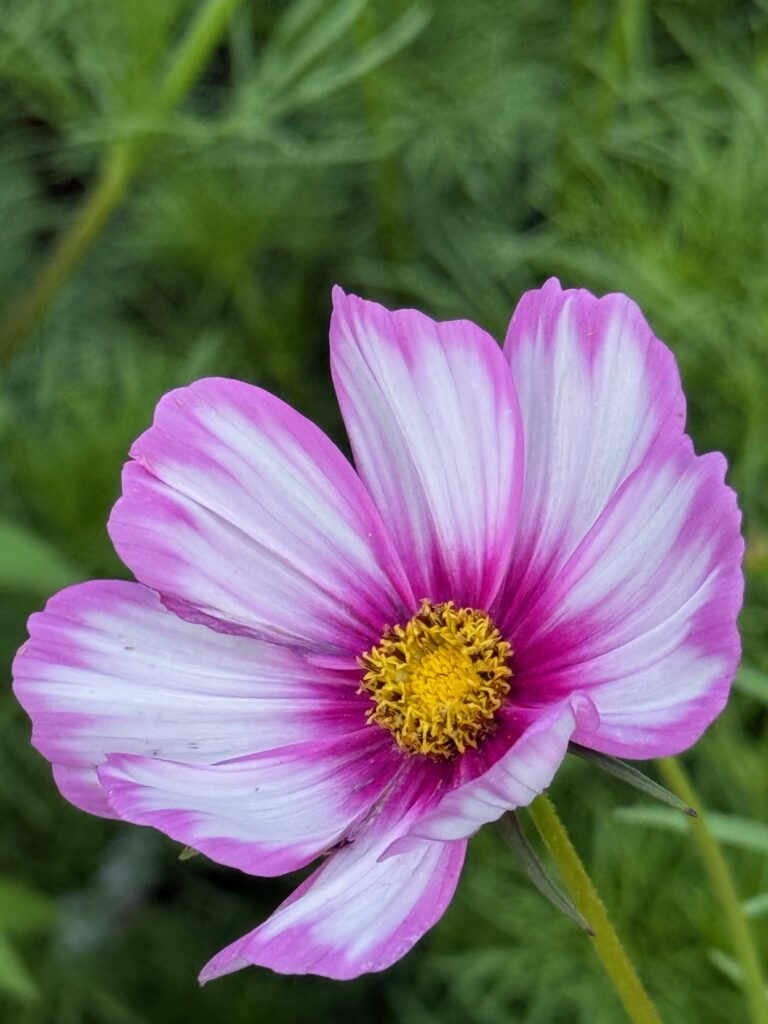
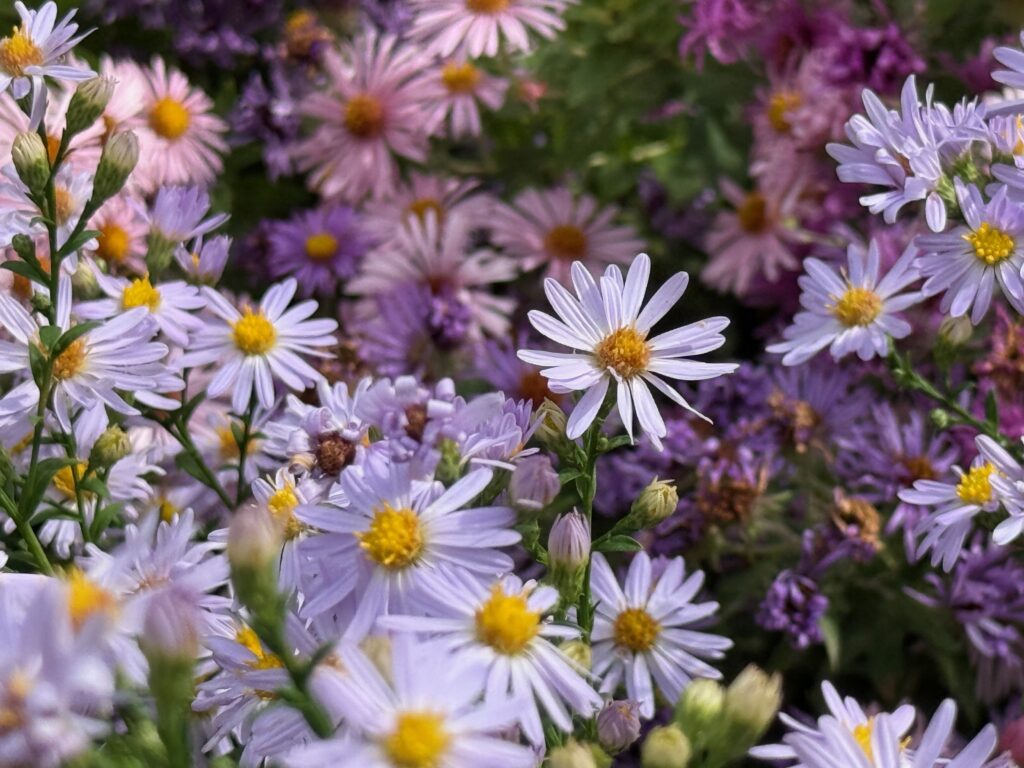
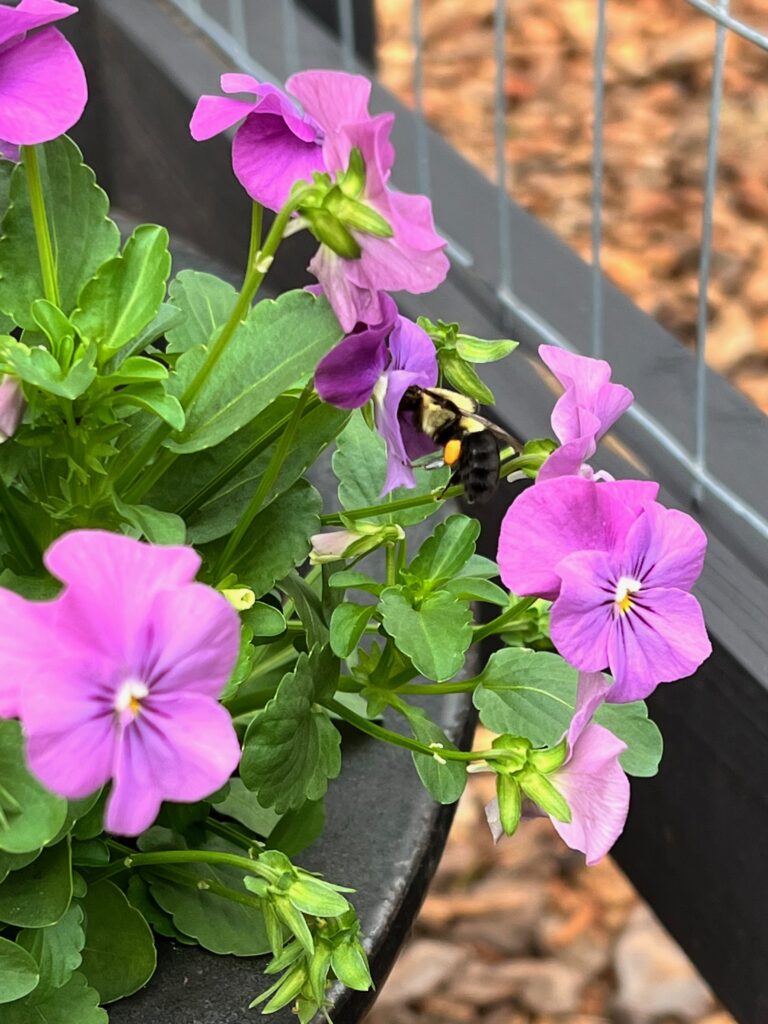
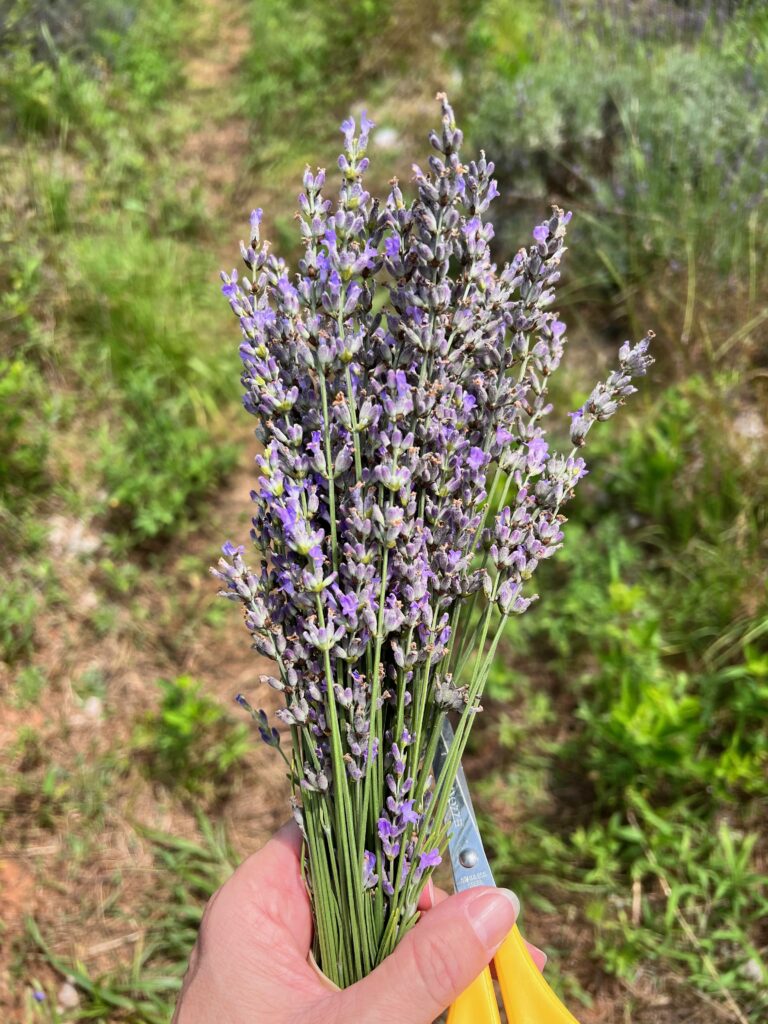
More Difficult to Press
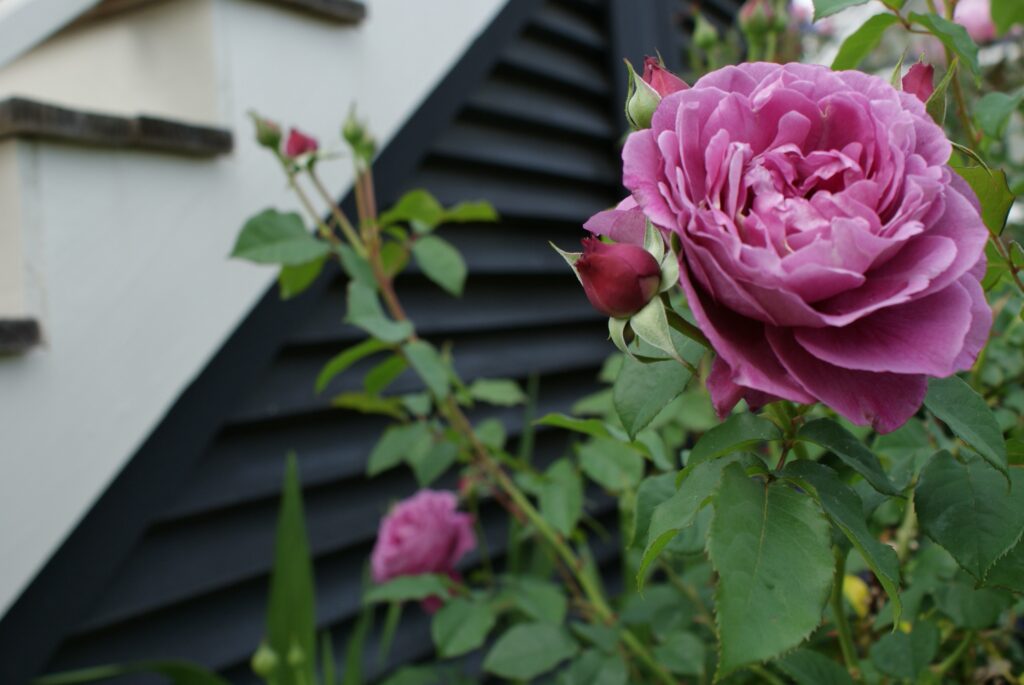
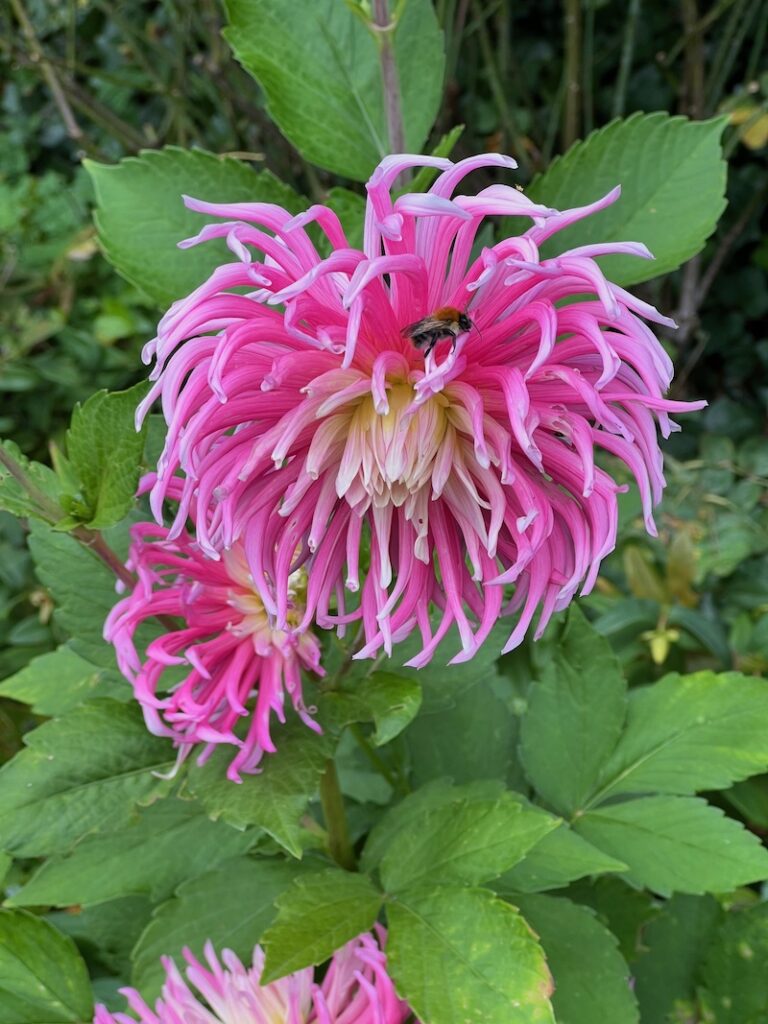
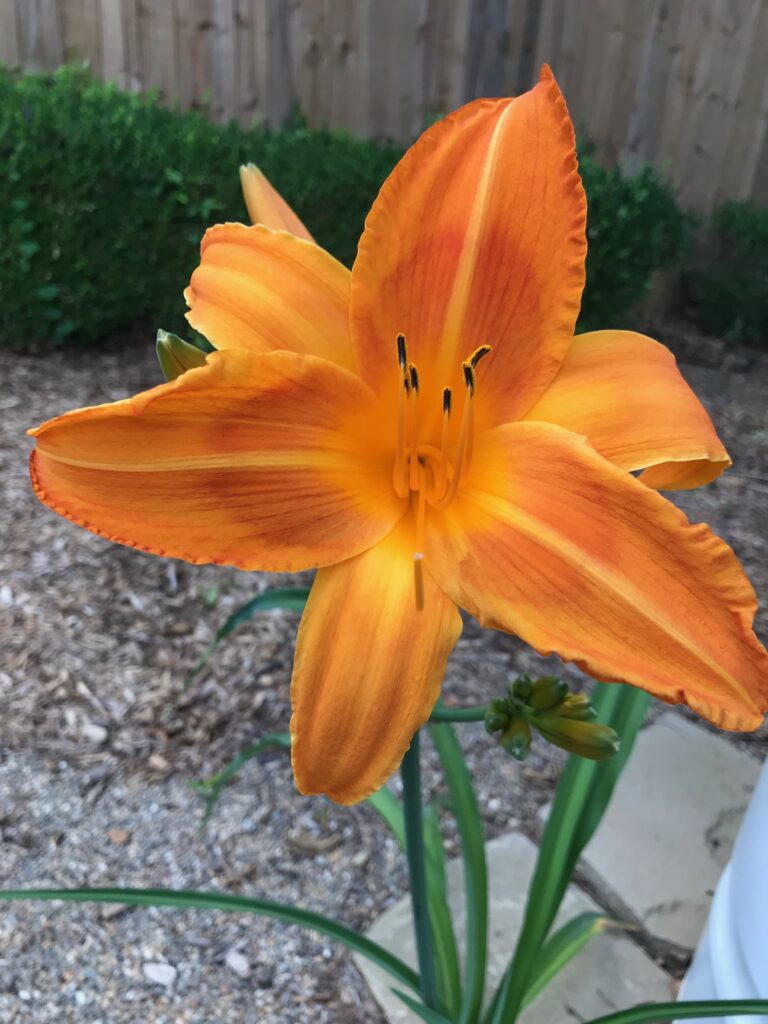
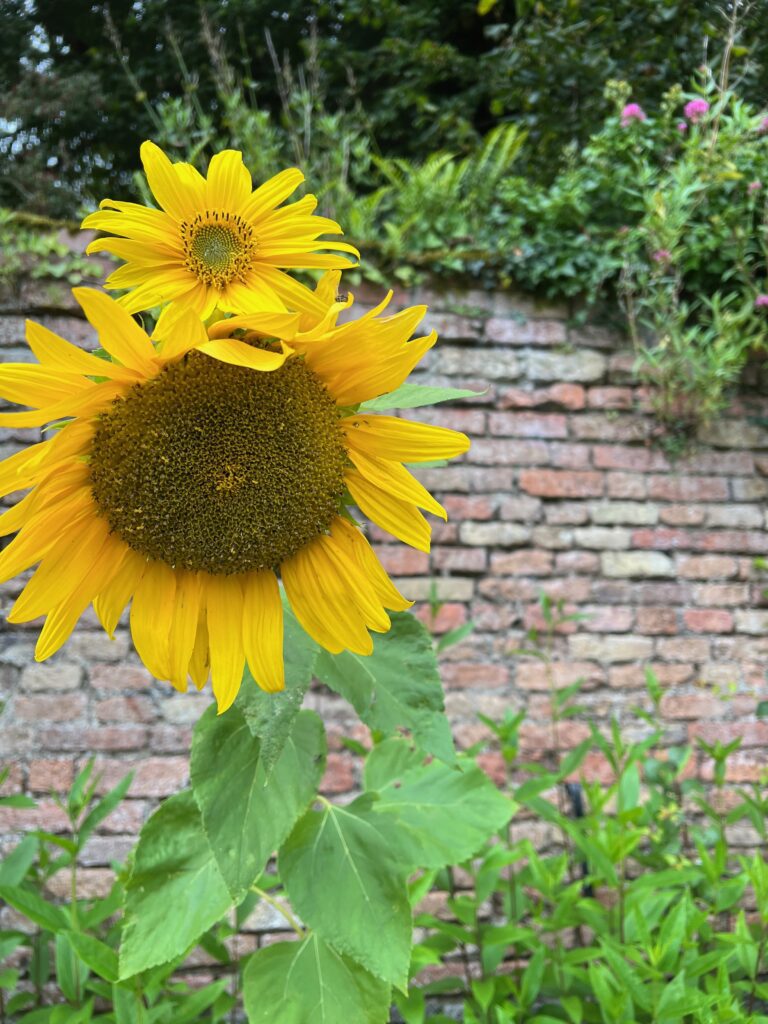
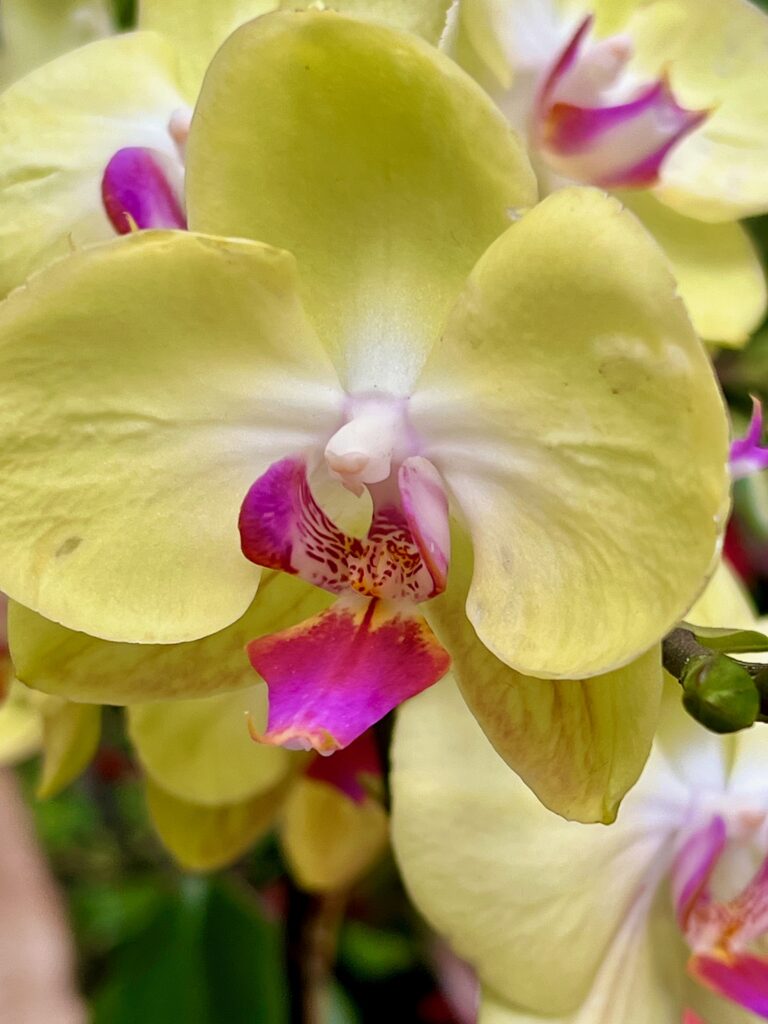
When it comes to flowers like zinnias, they are difficult to press because of their thickness and their moisture content. You can be creative and try removing some petals and pressing those or choosing varieties that are single layers of petals instead of thick ruffly ones.
Ginger with Roots Tip!
I suggest picking flowers and foliage in the late morning after the morning dew has dried.

How to Press Flowers Step by Step
Step 1: Harvest and Prepare the Flowers
- Cut your flowers and leaves.
- Remove excess foliage and dense stems.
- Shake out any critters that might be hiding in the flowers!
- Dry gently with towels to avoid excess moisture.

Step 2: Arrange the Flowers on Paper
- Avoid overlapping plants.
- Press flowers of similar weight and density on each sheet of paper.

Step 3: Place Them in the Flower Press
- Add additional pieces of paper on top.
- If your press allows for multiple presses at a time, add additional layers like a sandwich.
Step 4: Tighten and Check the Flower Press
- Depending on your flower press design, tighten the press so that it’s snug, but not too tight.
- After a couple of days, retighten. This allows the foliage to flatten slowly without releasing too much moisture at one time.
Step 5: Let the Flowers Dry
- Let the flower press do its thing for 1-2 weeks
- You might need to wait longer if your climate is humid or your flowers are dense.
Step 6: Carefully Remove the Pressed Flowers
- Pressed flowers might be brittle.
- Use tweezers to lift gently off paper.

My flower press is a one piece screw method like the one pictured above.

Other popular designs have two wooden plates with paper in the middle and four corner screws like this flower press from Etsy seller, HeartWoodandRose. Tighten the wing nuts in each corner.
How to Press Flowers Without a Flower Press
Another option is the heavy book flower press. Arrange your flowers on a folded piece of parchment paper and place inside the book between the pages. Close the book and stack a few more on top to weigh it down.

These are some more flowers that I recently pressed. The ones on the parchment paper are book pressed, and the ones on the white blotting paper are wood pressed.
How to Frame Pressed Flowers
- Arrange your pressed flowers on a piece of card stock to test your design
- When you are satisfied with your layout, apply tiny dots of glue with a toothpick or small paint brush to adhere pressed flowers to paper for framing.
- Frame when dry!
- A floating frame also works well and looks lovely on display. Instead of gluing to paper, glue them directly to the glass.


Ideas for Using Pressed Flowers
- Framed botanical art
- Garden journals
- Bookmarks
- Handmade cards
- Gift tags
- Scrapbooks
What I Learned From Pressing Flowers
Pressing flowers can be a little tricky sometimes. They don’t always turn out exactly the way we want them, but that’s life as a gardener, right? We work through trial and error, learn from our mistakes and try again.
As you can see below, my pressed daisy was not a success! Apparently it did not dry completely. This was my densest blossom and held the most moisture.
The error lies in two possibilities: I didn’t let it dry long enough in the press or I tightened the press to quickly instead of gradually over a few days.

Overall, this was such a fun and easy project. I love my new flower press and can’t wait to try new designs!
Need flowers for cutting? Read my post Beginner Cut Flower Garden.

Also read Deer Resistant Perennials for the Cut Flower Garden.

Want to learn more about becoming a homegrown gardener? Read
The Homegrown Gardener’s Guide: Growing, Cooking and Living with the Seasons.


