Blackberry Jam from the Garden
Time to harvest blackberries from the garden and make Blackberry Jam!

Prime Ark Blackberries (zone 5-9)
A year ago I ordered three Prime Ark Freedom thornless blackberry plants online with the intention of making a berry patch on the hillside of our garden. They arrived faster than I could prepare the area for them so I planted them in a raised bed temporarily.
Unfortunately, they LOVED it in this raised bed and quickly took over the entire thing. I had no idea what a monster I had created! Hopefully, I can get it restarted in the berry patch and reclaim my raised bed. But for now, I am tying branches to the garden fence and trellises, pulling up runners and transplanting the babies-trying to gain some control over this beast! Meanwhile, I am harvesting lots of beautiful blackberries and making jam!


The Prime Ark Freedom variety is unique because it is thornless and ever-bearing. Berries showed up super early this year (May 2023) due to a mild winter and an early spring. I am already getting a second round of fruit that looks like it will be ready in July. Last year I even had berries in the fall. So far, I am a fan of this variety and hope that it does just as well in the ground as it does in the raised bed.
If you are interested in Prime Ark Blackberries, consider ordering from Nature Hills Nursery.

Picking Blackberries
When your blackberries are fully plump and dark black in color, give them a tug. They should come off the stem easily. They will not ripen up after picking, so avoid the red or purple colored ones!
I love to collect blackberries in this colander basket my sister gave me for my birthday. It’s so easy to toss them in the basket and rinse them off quickly with the hose.

Cleaning Blackberries
Many gardeners will soak freshly picked blackberries in salt water for several minutes in case there are any little pests hiding between the drupelets, or the individual bumps of fruit that make up a blackberry. Others will simply rinse and store; it’s up to you. I personally soak mine, and yes little critters float to the surface sometimes.
Storing Blackberries
Once they are all collected and rinsed, I pop them in the fridge in a berry container. If you’ve never used one, try it. They are a game changer for the longevity of berries. They look like a plastic storage container with a small basket inside. My produce lasts much longer with these!
If I can’t get to them within 5-6 days, I will freeze them in a single layer on a sheet pan lined with parchment paper. Once they are frozen individually and will not clump together in a big frozen ball, I put them in a reusable storage bag and keep in the freezer for up to a year.
*Ginger Tip: Write the “Use By Date” on freezer bag, not the date frozen to keep frozen goods organized.
Frozen Blackberries in Smoothies
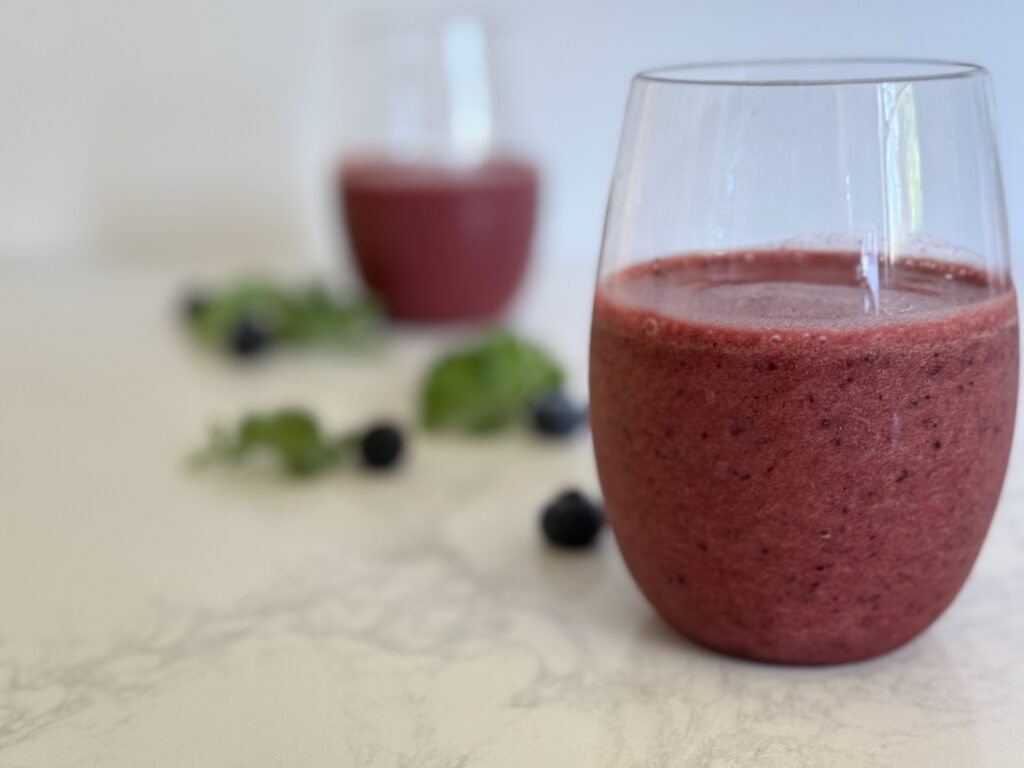
One of my favorite was to use frozen blackberries is in a smoothie. Blend together a mixture of frozen blueberries, raspberries and blackberries with kefir (I use berry flavored), banana, honey, cinnamon, and vanilla for a delicious antioxidant packed smoothie!
Blackberry Jam or Preserves?
What’s the difference between jam and preserves?
- Jam is made with mashed fruit and thickened to a spreadable consistency.
- Preserves have more fruit chunks and/or slices and are more syrupy.
When making my blackberry jam for the first time, I did not use pectin. I mashed the blackberries to break them up and release some juices. Then I cooked down the blackberries with sugar and lemon juice for about 20 minutes in a large pot.
At this point I should have added some pectin, but I thought it looked thick enough. I used a canning bath with sterilized jars and lids and processed for ten minutes.

They sealed properly, but the jam was thin and a little runny. No problem! I labeled this batch “Blackberry Preserves” and tried again!
I must mention that my husband loves to make a cocktail with the blackberry preserves.
This Blackberry Vodka Cocktail is perfect for a refreshing summer drink.


My second attempt at blackberry jam turned out much better! I added pectin this time and the jam set perfectly.


My Favorite Tools for Canning
Victorio Canning Pot from Harvest Essentials. This is the pot that I have had for years. I couldn’t find it on Amazon, but this canning pot is similar if you prefer to shop through them. Again, I like the temperature gauge feature built into the lid.
Presto Digital Pressure Canner is new to my kitchen, and I am so excited to use it. It automates both pressure canning and water bath canning on your countertop, not the stove. If you love your Instant Pot, consider this electric canner.
Reversible Canning Rack for holding jars securely in the water bath. Most canning pots come with a standard rack for use, but I like this one with the ‘flower petal’ design that allows you to keep small pint size jars stable. Flip it over and it holds quart size jars. Stack two of these racks together and you can process multiple small jars at once which is perfect for jams and jellies.
Canning Scoop for ladling food into jars. This is more than a typical ladle. The pointed shape allows you to scoop along the inside of a pot and pour accurately into the jars.
Canning Funnel for filling both wide mouth and regular mouth jars. I love this funnel because it sits securely on the jar AND it has headspace measurements on the bottom to see exactly where to stop filling your jars.
Magnetic Lid Lifter for handling hot metal lids in boiling water. I spent years using tongs to try and grab the bands and lids out of the hot water only to watch them slip and slide back into the scalding hot water and under the rack. This handy tool makes it so much easier and safer!
Ball Mason Jars for storing your food. I use the pint size jars with regular size mouth for my applesauce because we are empty nesters now and one 16 ounce jar is perfect for two. For larger batches, use quart size jars.
Jar Lifter for safely adding and removing jars from hot water bath. This is a must have for canning. Those jars are hot!
Ball Complete Book of Home Preserving is an essential resource for canning. I like that it opens flat and has plenty of recipes with great instructions.
Put all of these together and you have a wonderful gift basket for school auctions, Christmas, or birthdays!
Enjoy a bountiful blackberry harvest and plenty of jars filled with delicious blackberry jam from the garden!

Homemade Blackberry Jam
Ingredients
- 4 cups blackberries
- 2 cups sugar
- 1/2 cup lemon juice
- 2 teaspoons pectin powder
Instructions
- Prepare jars, lids and bands for canning. Start hot water bath on a separate burner.
- Rinse fresh blackberries and put in a large pot.
- Add sugar and mash the berries to release juices.
- Cook over medium heat until it boils and then add lemon juice.
- Continue cooking and stirring for 20-25 minutes. Watch the foam and stir it back down as needed.
- Add pectin and stir for 1-2 minutes to thicken.
- Remove from heat and carefully ladle into sterilized jars. Leave ¼ inch headspace and wipe rims with a clean damp towel. Finger tighten lids with bands. If the last jar isn’t completely filled, let it cool on counter and then store in fridge for 3 weeks.
- Process in canning bath for 10 minutes and remove. Place on heat resistant surface. Do not touch for 24 hours at which point check the lids for proper sealing. If pressing the lid makes a ‘pop’, it’s not sealed and must be stored in the fridge for up to one month. The properly sealed jars can be stored for 12 months in a cool dark space.
Garden to table recipes are the backbone of my blog. Read From Garden to Table: Homemade Recipes Using Fresh Herbs, Fruits and Vegetables and learn more about reaping the benefits from your garden.
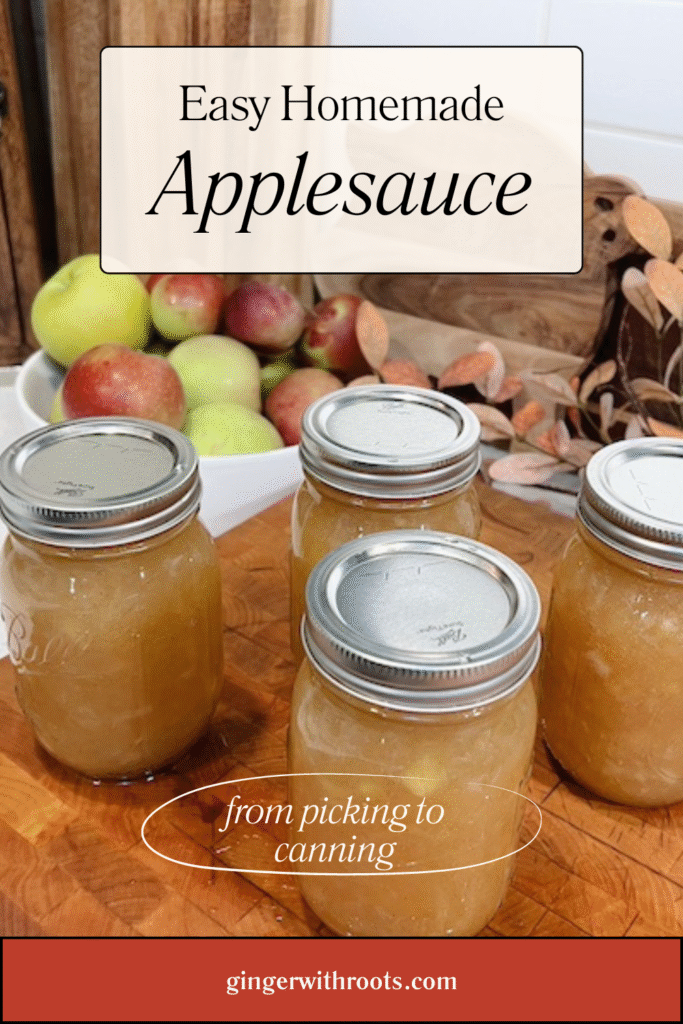
Did you enjoy canning blackberry jam? Try making your own applesauce! Read Apple Picking for Easy Homemade Applesauce where I detail every step from apple picking to canning.
Ready to create your own kitchen garden?
Read how we built an Enclosed Deer Proof Garden and filled it with raised beds.