How to Grow and Harvest Basil + Easy Homemade Pesto Recipe
Fresh basil is one of the most rewarding herbs to grow because the more you harvest, the more it produces.
With a sunny spot and a little regular pruning, one basil plant can provide plenty of fresh leaves for summer meal, and of course- homemade pesto. Here’s how to grow, harvest and use fresh basil from your garden.
Summer is in full swing, and my basil is out of control! The fragrant green leaves and sturdy stems stand out in my kitchen garden after weeks of careful watering and snipping to ensure fullness.
With countless uses for basil, homemade pesto is one of my favorites. I like to put it on pasta with garlicky shrimp, slather it on paninis with fresh mozzarella and grilled chicken, or simply dip veggies in it. Homemade basil pesto is versatile and super easy to make.

Let’s begin with basil basics:
What is Basil
Basil (ocimum basilicum) is part of the mint family. It’s known for its aromatics and distinct flavor, and is one of the most popular kitchen garden herbs.
Choosing the Best Basil to Grow
Multiple varieties exist including the most popular Genovese which is what we will be using in our homemade basil pesto. However, be adventurous and try growing some other varieties like Thai basil or purple basil.
How to Grow Basil
Basil is extremely tender. Plant only after your last frost date and harvest it before your first frost arrives.
Starting Basil from Seed
Basil does well started from seed and transplanted to the garden. Starting indoors under grow lights will give you a head start on the season.
- Bury 2-3 seeds 1/4 inch deep in a small container filled with starter mix.
- Set on top of a heat mat. Keep grow lights close to the surface (like 2 inches!) and keep the soil moist.
- Cycle the lights on for 16 hours and off for 8 hours.
- Slowly move the grow lights up higher as the seeds germinate. However, don’t be afraid to keep them close to each other or the seedlings will get long and leggy.
- Move them out into the garden and plant 18 inches apart.
Feel free to use clean containers from previous plants like the ones below, or purchase this starter kit and these grow lights with a built in timer on Amazon.

You can also sow seeds directly in the soil (again-after the last frost), but it takes 4-6 weeks to grow big enough to harvest.
How to Plant Basil Transplants
Finally, if you had a late start on your garden or are new to growing basil, buy basil plants at a nursery! I’ve even planted the ones from the grocery store and had great results!
Ginger with Roots Tip!
If your native soil is low in nutrients, consider planting your basil in large pots and raised beds filled with compost and potting soil. Basil needs fertilizer!
Basil also needs 6+ hours of sun a day. Plant in a sunny location!

Watering and Caring for Basil
Basil likes to be well watered, but not soggy. Water deeply when the top inch of soil is dry.
Drip irrigation works well when summer heat is intense. You can read about my drip irrigation tutorial here!
Ginger with Roots Tip!
Cut basil before it starts to make flower spikes to ensure plentiful production unless you want to use them in cut flower arrangements. They are beautiful!
Fertilize with a slow release organic granular product at the time it’s planted. Once a month use a liquid fertilizer like Fox Farm Plant Food.
How to Prune Basil for a Fuller Plant
Prune basil stems periodically to encourage bushy growth instead of long leggy stems with little leaves. Do not remove more than 1/3 of the plant at a time.

Snip above a pair of leaves which will branch out into new growth. See the picture above? Cutting at a ‘joint’ along the main stem will create more growth overall.
Problems with Basil
The most common problem with basil is finding black or brown spots on the leaves. Typically these are from frost damage (top tender leaves have spots) or fungus (lower leaves yellowing and spots). Remove these leaves and dispose.
If it’s fungus, make sure you’re not overwatering and that you have removed lower leaves to have better air flow. Fungus likes wet dark areas. Drip irrigation and mulch helps with preventing water from splashing up on the leaves.
Pests will nibble on the leaves. Hey, we can’t be the only ones that find basil tasty! Check routinely for critters and remove by hand. I am totally fine with clean basil leaves that have a bite mark. That’s much better than pretty leaves with pesticides on them!

How to Harvest and Store Basil:
My favorite method for harvesting basil is to run out to the kitchen garden, snip what I need and use it immediately. However, we all know that sometimes we need to plan ahead or we want to share some of our bounty with friends and family. What then? Basil discolors in the refrigerator and wilts on the counter.

- My solution? Treat basil like cut flowers! I cut the basil and immediately stick them in a water filled vase. I have found that basil in a vase can last several days on the counter.
- Another way to store fresh basil is to wash and completely dry it. Remove the leaves from the stems and toss with olive oil. Add the oily leaves to a freezer bag, remove excess air and freeze. I have done this when I’m in a hurry and it works really well. They smell so good in the dead of winter when I’m making sauce and add a few vibrant green leaves from the freezer!
- Other gardeners have shared their method of chopping the clean dry basil leaves in a food processor and adding olive oil to the mixture before freezing. Several recommend filling ice cube trays with the mixture to have individual chunks for sauces later.

What to Do with Fresh Basil from the Garden
Some popular uses for fresh basil include:
- making Caprese salad-especially with some fresh homegrown tomatoes
- pasta dishes
- homemade pizza
- tomato dishes
- paninis and sandwiches
- infused oil
When my basil plants are producing faster than we can use the leaves fresh, homemade pesto is one of my favorite ways to preserve that incredible garden flavor.
Easy Homemade Basil Pesto
Equipment:
- Food Processor (I LOVE my budget friendly Hamilton Beach because it’s easy to use and even easier to clean-hello, dishwasher!)
- Rubber spatula or wooden spoon to scrape down sides.
- Small jars or freezer bags
- Cutting board
- Chef knife
- Skillet
Ingredients for Homemade Basil Pesto
Just a few ingredients
To make homemade basil pesto, collect enough basil to fill 2 cups. I like to give the stems an upside down shake outside to help remove any critters. Then give them a thorough spray under cold water and another shake to start the drying process. The leaves bruise easily, so be gentle. Spread them out on a clean towel and prepare your other ingredients while the stems dry.
Toast your pine nuts in a skillet for 3-4 minutes over medium-low heat or until they are light brown in color. Let them cool in a dish.
Smash and peel 1 large or 2 small garlic cloves.
Slice a small lemon in half for juicing.
Shred 1/2 cup of parmesan cheese or let the food processor do the work and use a small chunk cut into pieces.
Have salt and olive oil on hand.
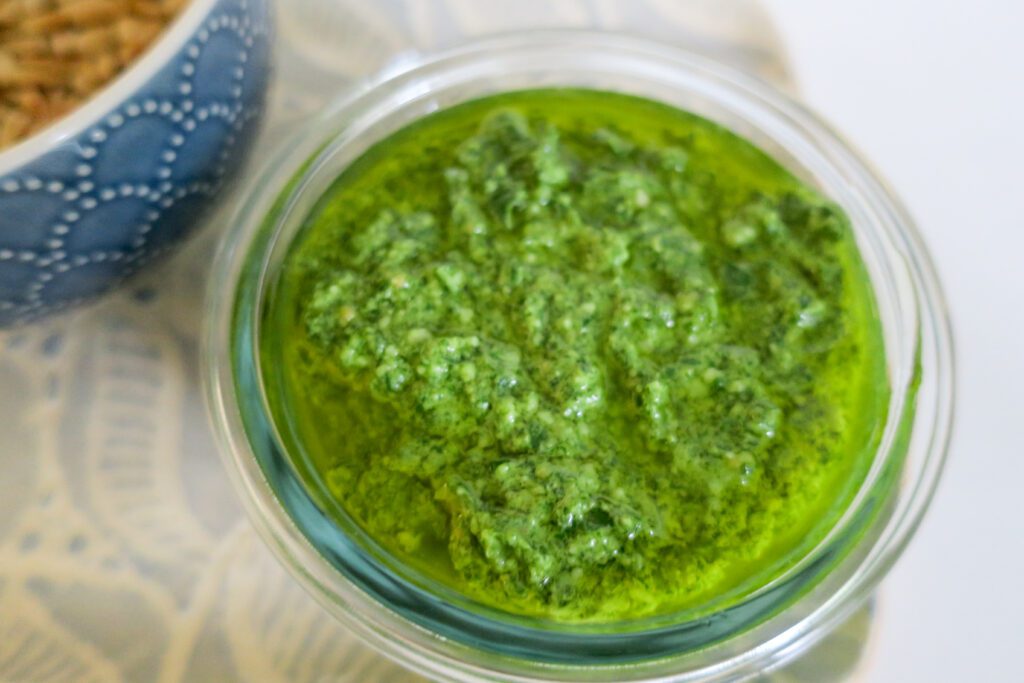
Process all of the dry ingredients and lemon juice together until uniform. Stream in olive oil through the spout opening and process until your pesto is the right consistency. It should be liquidy, but not watery.
How to Store and Freeze Homemade Pesto
Store your pesto in clean jars with a good layer of olive oil on the top surface to prevent discoloration. I keep mine in the fridge.
You can also pour pesto into ice cube trays and freeze. Then pop them out, store in a freezer bag and use as needed.


Homemade Basil Pesto
Ingredients
- 2 cups basil leaves
- 1 tbsp lemon juice
- 1/3 cup toasted pine nuts
- 1 large garlic clove
- 1/2 cup parmesan cheese
- 1/2 cup olive oil
- 1 tsp salt
Instructions
- Add toasted pine nuts, garlic, cheese and lemon juice to food processor.
- Process ingredients until uniform in texture. Scrape down sides of bowl as needed.
- Add pinch of salt if desired.
- Add the basil leaves and stream in olive oil while processing ingredients. Scrape down sides as needed. Your pesto is the right consistency when it is completely blended and is sightly liquidy, but not watery.
Notes
From Garden to Table: Enjoy Your Basil Harvest
Basil is a perfect example of why I love garden-to-table gardening. It’s easy to grow, responds beautifully to regular harvesting, and can turn even a small garden harvest into something delicious. Keep your plants pinched and productive throughout the summer, enjoy the leaves fresh whenever you can, and when the harvest gets ahead of you- make a batch of homemade pesto to enjoy now or freeze for later.
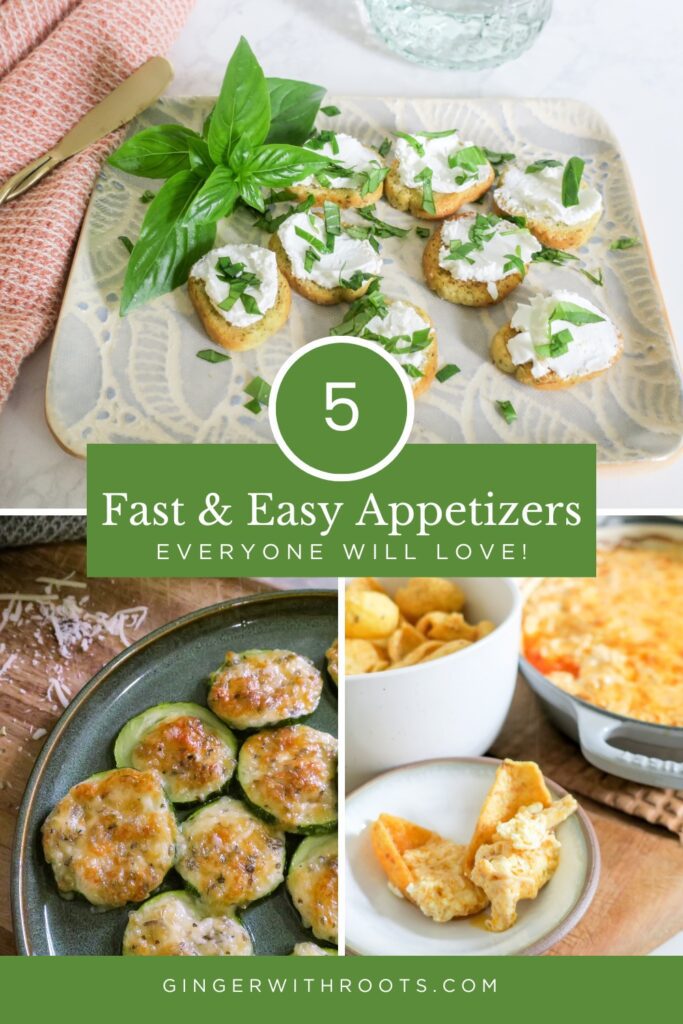
Need more ideas for enjoying a productive basil harvest? Try two of my favorite appetizers in my post:
5 Quick and Easy Appetizers Ready to Go!
Ready to start your homegrown gardening journey? Read
The Homegrown Gardener’s Guide: Growing, Cooking and Living with the Seasons.


