Garden to Table: Easy to Grow Jade Bush Green Beans
Jade green beans have made gardening so rewarding this summer! Follow me through this journey of finding the perfect fit for my small kitchen garden.
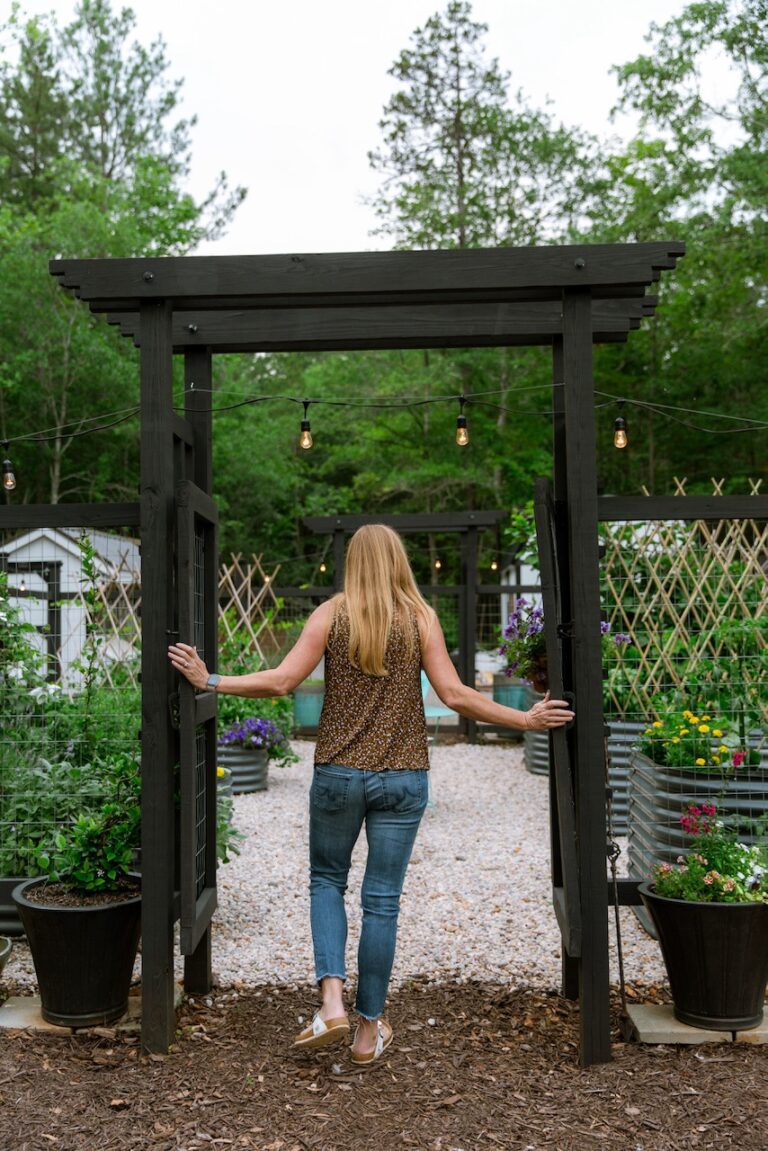
There is something incredibly satisfying about walking into the garden with a small basket and coming back with enough fresh green beans for dinner. Jade Bush Green Beans are one of those vegetables that make new gardeners feel successful because they’re productive, beautiful, and don’t require a large garden to thrive.
For years, I’ve always chosen pole beans (or climbing green beans) to watch them grow up and over my trellises. They worked well in my limited space, but this year I decided to give bush beans a try, specifically “Jade Green Beans” from Botanical Interests.

Although pole beans are productive, I found the amount of beans to be spread out too far in ripeness to support my needs. I would pick a few beans…wait several days and then pick some more only to find that the first batch was expiring before I could use them all together.
Therefore I decided to freeze them instead refrigerating them and use them later when the growing season was over. That worked out fine, but what I really wanted was a steady supply of fresh green beans for dinner in the summer!
Why Grow Jade Green Beans?
Good for Small Spaces and Containers
Bush beans don’t require a ton of space and they are steady reliable producers. That’s perfect for my gardening style: easy going and rewarding.
Seriously, my idea of gardening is to cut some flowers, grab a few fresh herbs and harvest some veggies to bring in for dinner. I am not a farmer or homesteader. I am not trying to be self sufficient. I just want some homegrown freshness that connects my garden to the kitchen.
Prolific Producers
Did I say that my Jade green beans produce like crazy?! All at once I had baskets filled with beautiful fresh green beans. No more waiting for days on end to get enough for one meal.

The best part is that they keep producing after harvesting. As long as you pick beans every few days, the plant will keep flowering and producing incredible green beans.
Delicious Flavor and Texture
I have cooked several green bean dishes in my lifetime and I absolutely love the taste of Jade green beans. They are sweet, mild and tender. They grow long and straight and cook up beautifully!
If you let the individual green beans grow for too long, they can become tougher and fibrous. I haven’t had too much of a problem with that, though.
I will be sharing some elegant dishes featuring these green beans in the recipe section.
How to Grow Jade Green Beans
Jade green beans are super easy to grow-perfect for beginner gardeners! I grew mine in one row in a 2×7′ raised bed that’s roughly 18″ tall.
Growing Requirements
- Full Sun (6+ hours per day)
- Plant beans only after any danger of frost
- Plant 1 bean seed every 4″-6″
- Plant at a depth of 1″
- Keep soil moist for germination
- Water deeply for good root growth
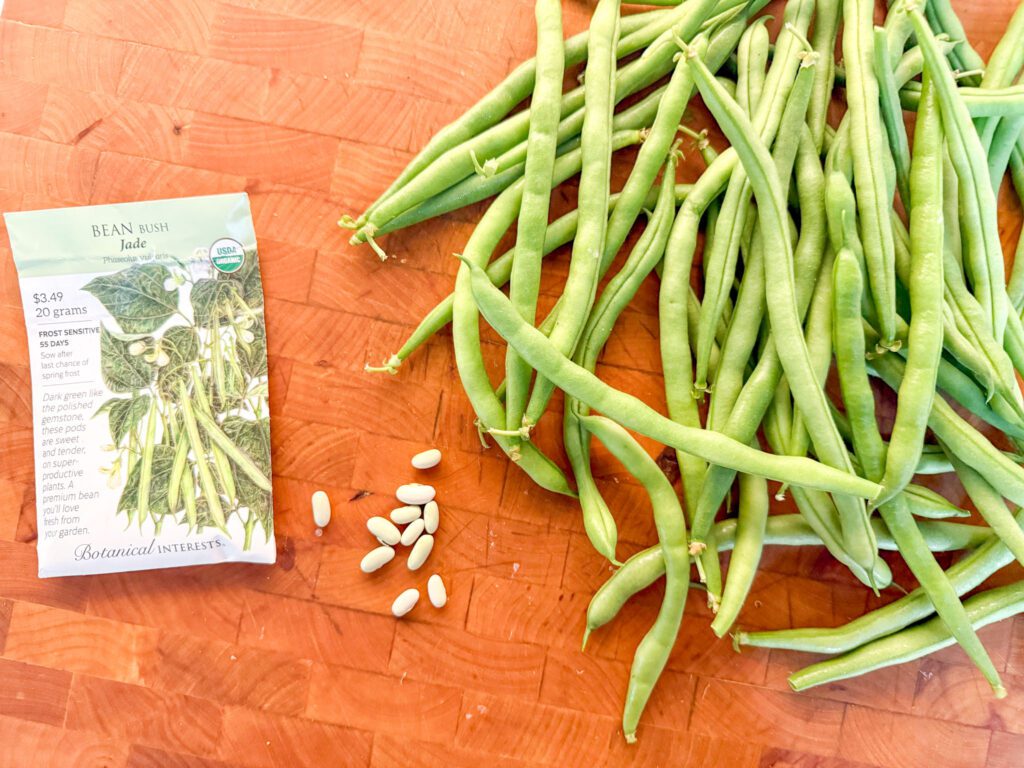
My Jade green beans germinated quickly and successfully. They have done well without my full attention (translation: lots of summer trips away from home) and have produced longer than expected.
Ginger Tip!
Take advantage of your drip irrigation line and plant a bean at every “drip emitter” along the 1/4 inch tubing. They should be 6 inches apart and watered consistently!
This system works like a charm. If you haven’t set up drip irrigation for your garden beds, read my post Easy Step by Step Drip Irrigation for Raised Beds. I detail exactly how to set it up completely from start to finish. It’s a game changer in the garden.

Succession Planting
In general, bush beans are shorter lived than pole beans. Therefore many gardeners will succession plant to have a continuous supply.
This means that two weeks after you planted your row of beans, you plant another one 24″ away. Once the first row is complete and you’ve harvested the beans, you cut it down and plant more beans there and so on and so on.
Like I stated earlier, I am not trying to be a farmer or a homesteader. I rarely succession plant because I have limited space in the garden and the freezer! However, I have been so pleased with the Jade beans that I am planning to cut down the spent plants and start another row. Stay tuned!
Notice I said “cut down” and not “rip out” the spent bean plants! That’s because legumes are nitrogen fixers. I’m leaving the roots to decay and provide nitrogen in the soil for the next round of plants.
What is Nitrogen Fixing?
Ready for some plant nerd time? Get this: beans provide carbohydrates in the soil; a bacteria, called Rhizobia, uses this to form nodules on the roots of the beans and capture the nitrogen from the air pockets in the soil; the bean plants (and surrounding ones!) then use the nitrogen to feed itself. Pretty cool, right?
What does this mean for us gardeners?
- Beans can grow in poorer soils
- Beans help feed nearby plants
This leads me to the next section about what to plant with your green beans.
Bean Companion Plants
You can plant most anything with green beans because like I explained- they help fix nitrogen in the soil and that helps the nearby plants. Here are a couple of points to keep in mind when it comes to planting alongside beans:
First: Bush beans are about 24″ tall at full maturity. Depending on the sun’s track, the height of the companion plants can affect bean growth in two ways:
- Taller plants like okra, tomatoes, peppers, and eggplant could cast shade on the beans.
- Shorter plants like carrots, radishes, nasturtiums and marigolds will interfere less with sunlight exposure for the beans.
Second, it’s generally advised to avoid planting onions near beans because they affect that bacteria, Rhizobia, and reduce the nitrogen fixing. So while they might go well together in the skillet, avoid putting onions and beans together in the garden!
I like how planting okra next to my green beans actually shaded them a little during a recent heat wave. Have you ever grown okra? Read Growing Okra: A Garden to Table Guide for Fresh Summer Cooking and discover another easy to grow plant!
Are Jade Bush Beans Beginner-Friendly?
Most bean plants are beginner-friendly, and Jade bush beans do not disappoint.
If you’ve never grown beans before, start with one 4×4 raised bed or even a large container. Jade bush green beans don’t require complicated supports or a large garden, making them one of the easiest vegetables for new gardeners. Every successful harvest begins with planting that first seed.
Why plant Jade bush green beans?
- Good germination rate
- No trellis required
- Grow in raised beds or containers
- Very productive
- Perfect for small spaces like suburban gardens
- Great for children to grow
I love this for kids. As a former teacher, allowing children to partake in the garden not only teaches them science and responsibility, it also helps them nutritionally! Studies show that kids are more likely to eat something that they helped grow-Win! Win!
Tips for Success
As with any plant, there’s always something that can pose a problem. I haven’t experienced many with beans, but I have learned to look out for a couple things:
Extremely hot temperatures can cause the beans to stop producing. If you’re getting lots of flowers and little to no beans, check the weather. A severe heat wave might be the culprit! Shade cloths and deep watering will help.
Don’t try to move bean plants. They do not like having their roots disturbed. This is why we direct sow and not start plants in trays.
Harvest frequently to keep bean plants producing. This brings us to the fun part!
Harvesting Jade Bush Beans
This is a super easy task and extremely rewarding! Grab a harvest basket or a bucket and let’s go!
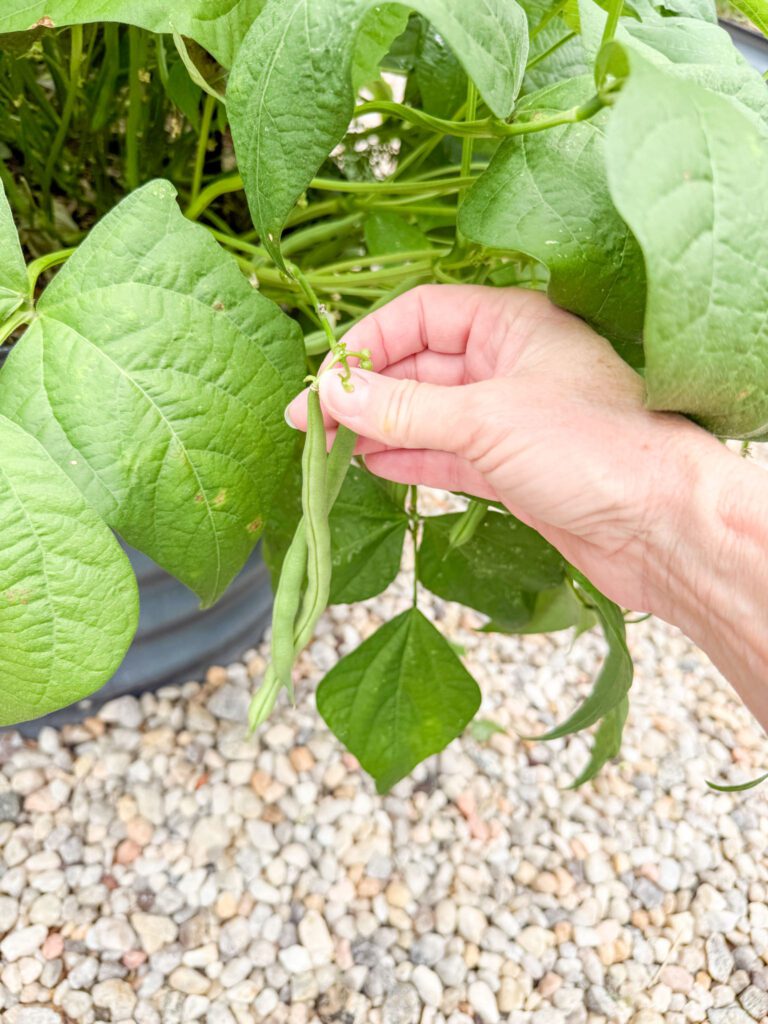
When to Pick the Beans
Jade bush beans will flower and produce beans around 55 days.
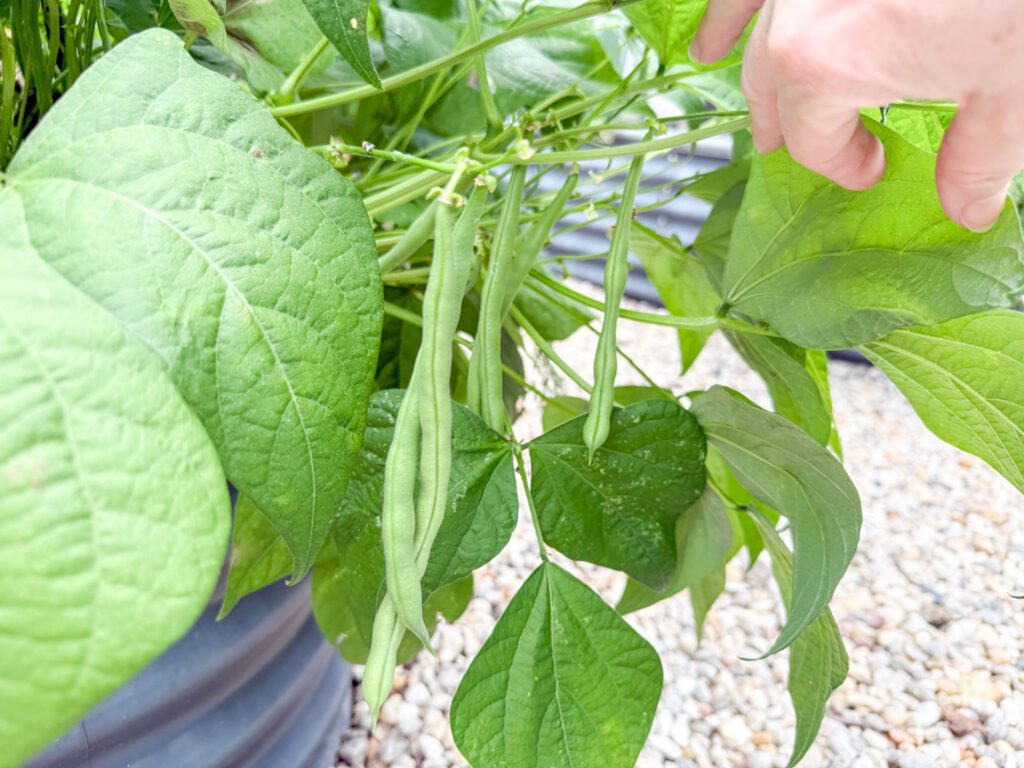
Ideally, beans should be 5-7 inches in length.
You will know they are ready when you can ‘snap’ a bean crisply in half. It shouldn’t be bendy and floppy.
How to Pick the Beans
To harvest, you will want two hands for this job. Use one hand to hold the branch and the other to pull the bean. It will come apart easily, but trying to do it with one hand can sometimes pull the branch, too, or even the whole plant! (Ask me how I know).
Ginger with Roots Tip!
I like to wear long sleeves or Farmer’s Sleeves to protect my arms while reaching in and around the bush beans to avoid skin irritation.
Sometimes they make my skin itch afterwards if I don’t. This is contact dermatitis, not food allergies; and I just wash my arms off to make it go away. If you find it bothersome, wear Farmer’s Sleeves. They are fantastic! Bonus: they help protect your skin from the sun!
How Often to Harvest
The more often you harvest, the more beans the plants produce. During peak season, I usually check my plants every couple of days because new beans seem to appear overnight.
How to Store Green Beans
What do we do with all of these amazing green beans? We either eat them or store them, right? My system includes short term and long term usage.
Ginger with Roots Tip!
Avoid washing green beans until ready to use. Water and moisture will cause mold and sliminess during storage which is BAD.
For short term storage:
- I pick the beans and bring them inside for prepping.
- I immediately go through them individually and toss any that have spots or bug nibbles into the compost bin.
- I wipe any dirt of with a dry dish rag or paper towel.
- Then I decide how many I need to save for meals that week. I put those into an airtight container or a plastic storage bag with a paper towel in the bottom of it and store them in the crisper drawer to maintain low humidity.
- Use or freeze within 7-14 days.
For long term storage I follow steps 1-3 above and then:
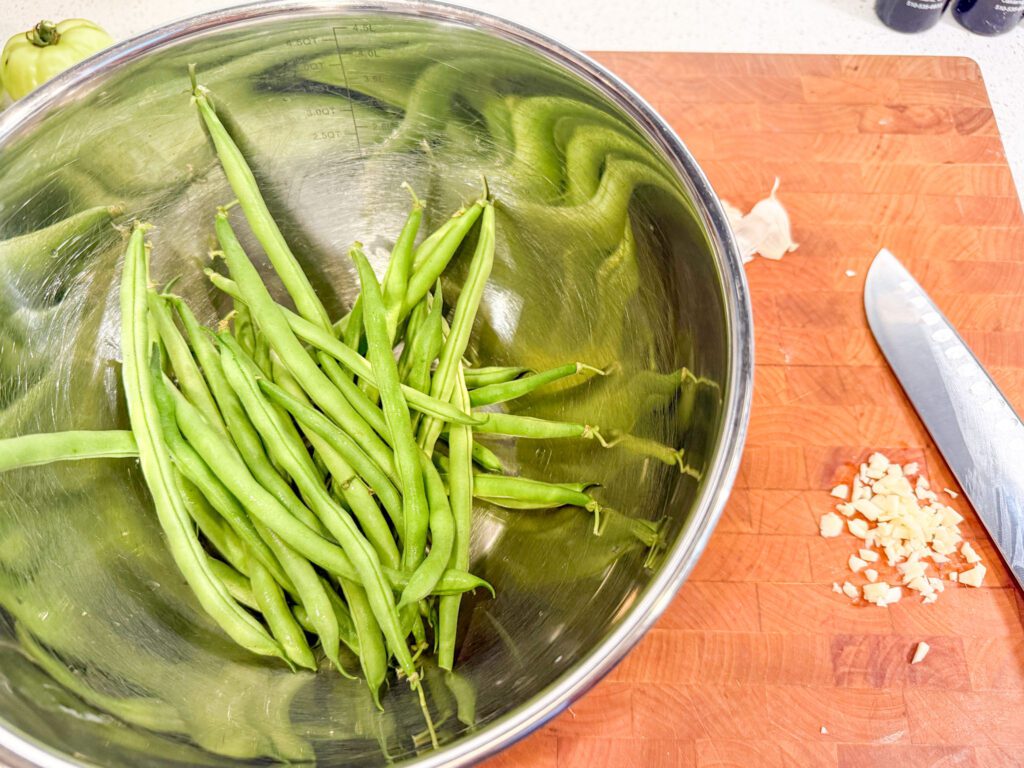
- I snap off the top of the beans, the part that connects to the branch. I leave the other end, but you can trim it if you wish. I like to leave them whole, but you can cut them into 2 inch pieces if you desire.
- I blanch them for 2-3 minutes in boiling water and plunge them into a bowl of ice water for 2-3 minutes.
- I spin them in a salad spinner to get as much moisture out as possible.
- I store them a freezer bag and squeeze out as much air as I can.
- I freeze them for up to 12 months.
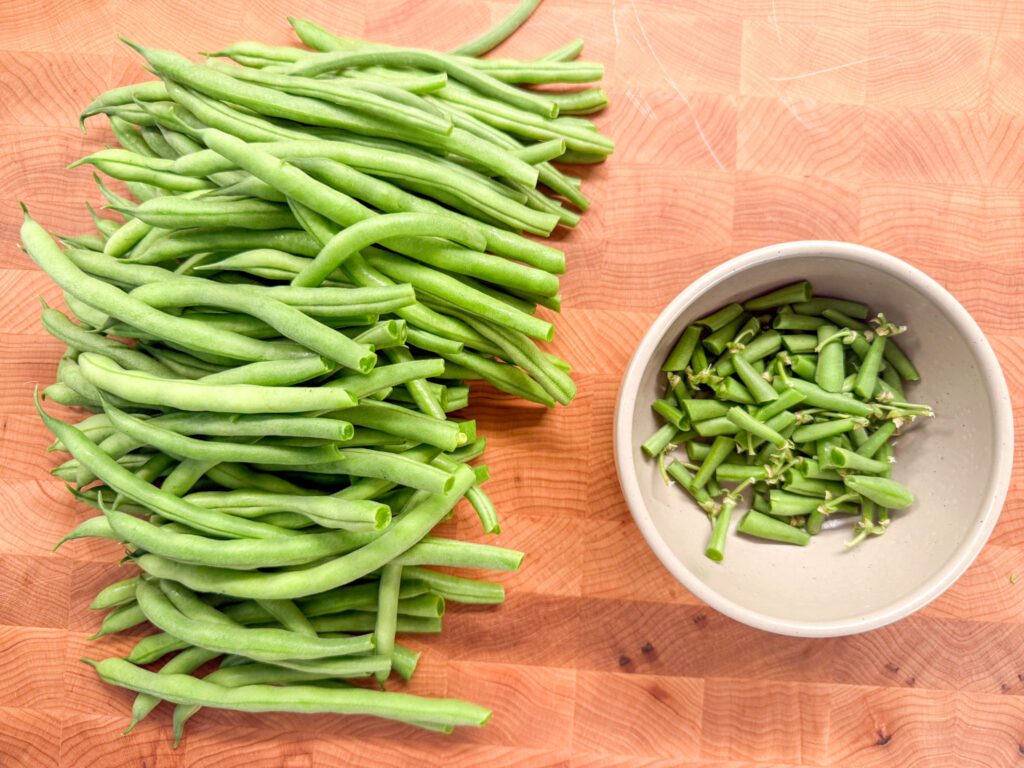
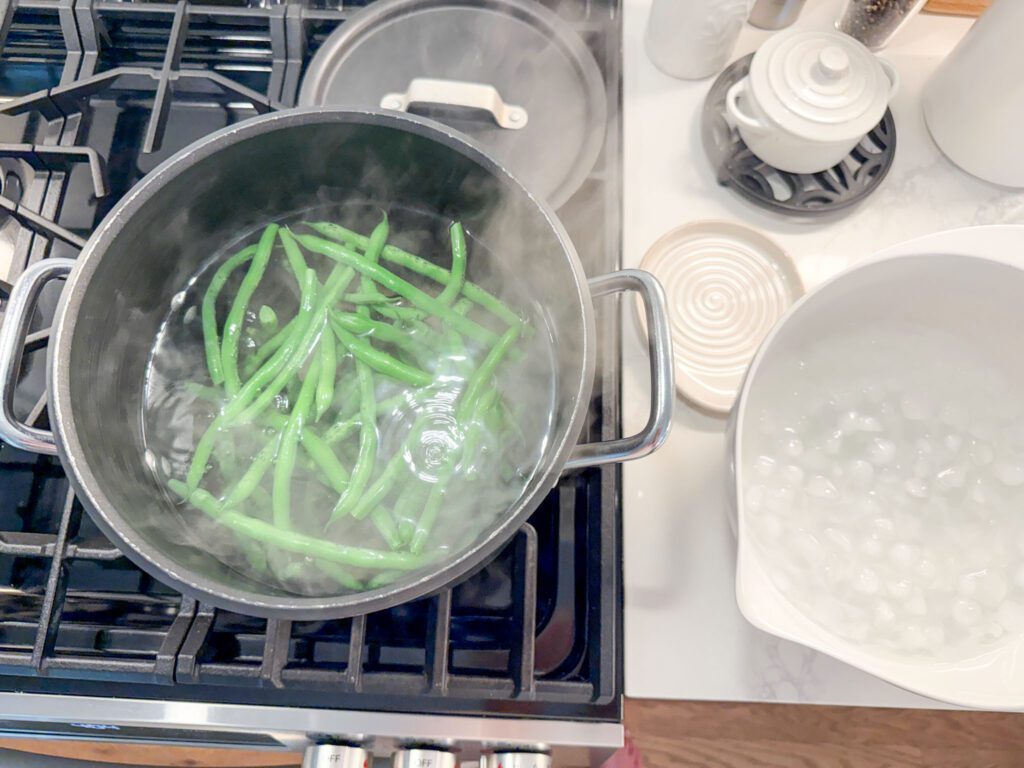

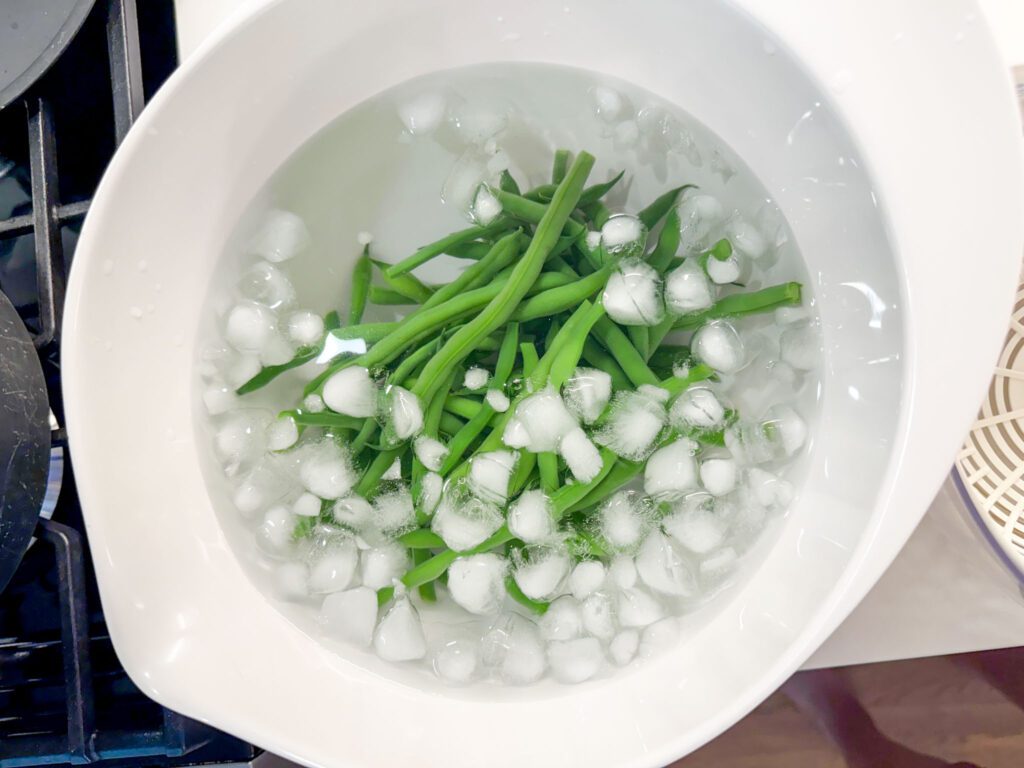
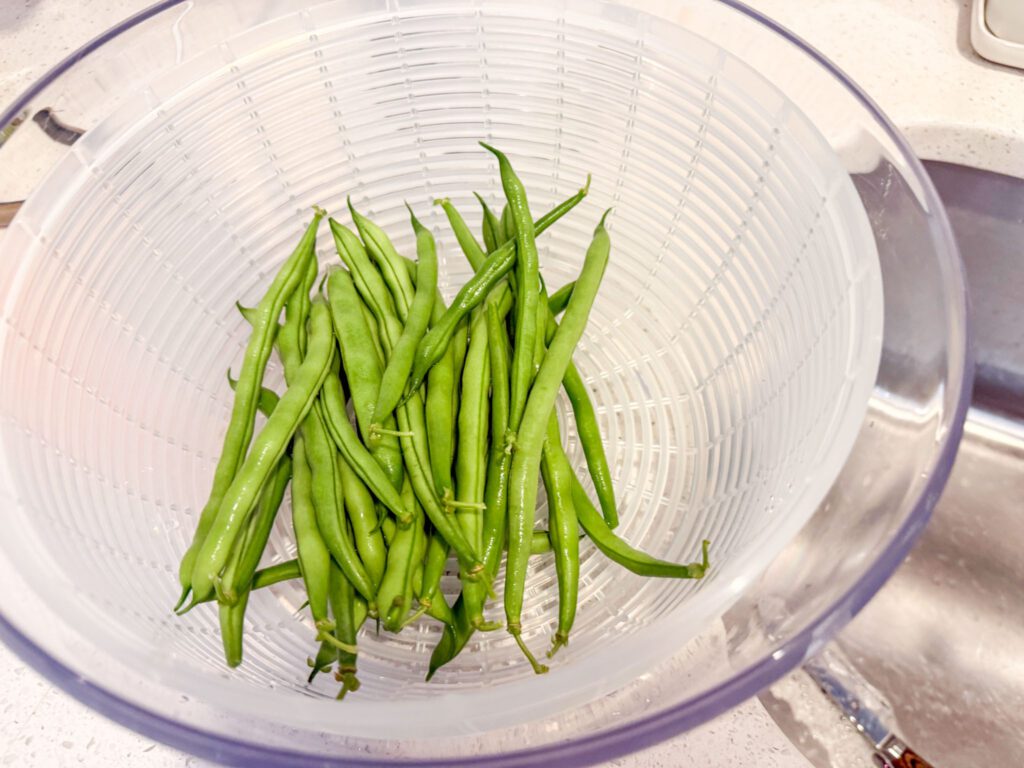

There are other methods for storing fresh green beans long term like canning. I will make a post about that later, but for now-let’s keep this simple! Cook and eat or freeze!
How to Cook Fresh Green Beans
This is my favorite part about gardening. Bringing in homegrown goodness and serving it to my family is rewarding and satisfying.
When it comes to green beans, I have a couple of reliable techniques and tips for making them come out right every time.
Best For Freshly Picked Green Beans
This method lets the sweet flavor and crisp texture of freshly harvested Jade Bush Green Beans shine.
- Wash and trim the beans.
- Bring a pot of salted water to a boil and blanch the beans for 2–3 minutes.
- Immediately transfer them to ice water to stop the cooking.
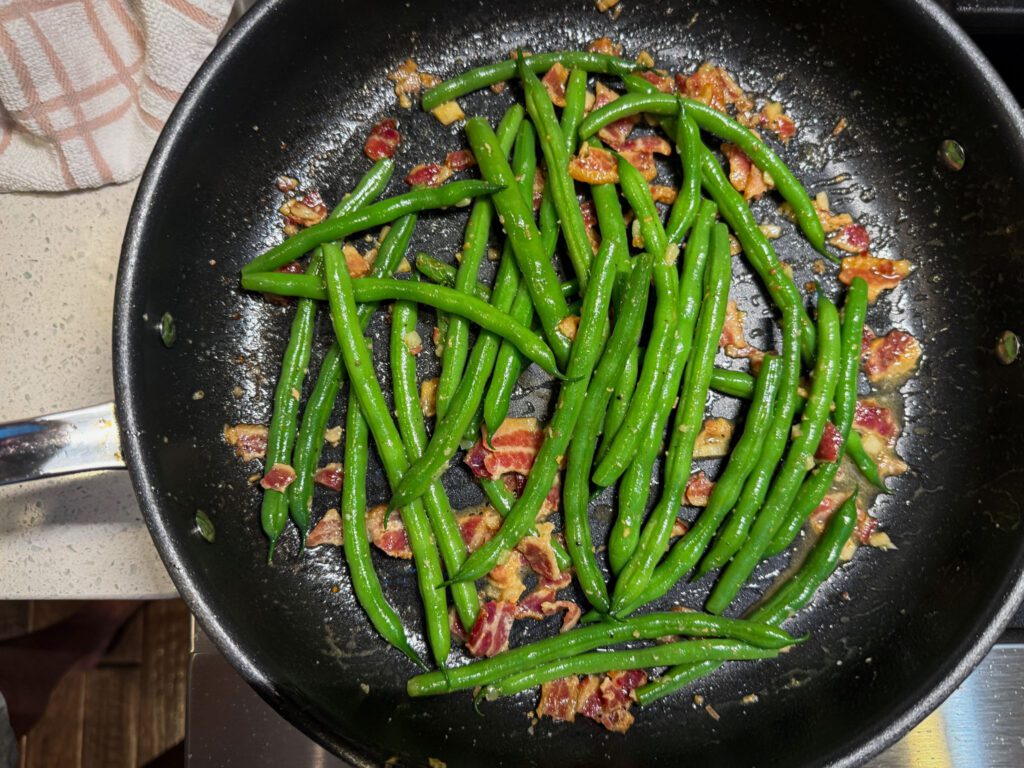
- Melt 1-2 tablespoons butter and 1 tablespoon olive oil in a skillet with 2 minced garlic cloves.
- Add the beans and sauté for 3–5 minutes.
- Season with salt and black pepper.
To dress this up, you can add a splash of balsamic vinegar at the end and/or top with crumbled cooked bacon.
To speed this up, skip the blanching. Add a few tablespoons of water to the skillet when you add the beans and cover with a lid. This will steam the beans for a few minutes and then when the water boils down, it will sauté for a nice finish.
Read one of my favorite recipes: Harvest Skillet Green Beans with Bacon & Cranberry Pear Balsamic.
Best for Frozen Green Beans
Frozen green beans roast surprisingly well and develop delicious caramelized edges.
- Preheat oven to 425°F.
- Spread frozen green beans on a baking sheet (no need to thaw).
- Toss with olive oil, salt, and pepper.
- Roast for 20–25 minutes, stirring halfway through, until the edges start to brown slightly.
To dress this up, try adding additional seasonings like garlic powder or onion powder.
The “I’m in a Hurry!” Method
Let’s face it, sometimes we are pressed for time and just need to get the food on the table. Use a microwave to speed up the process and still have tasty homegrown veggies for dinner.
- Place fresh or frozen green beans in a microwave-safe bowl with 2 tablespoons water.
- Cover loosely and microwave fresh beans for 4-5 minutes and frozen for 5-6 minutes.
- Drain the water.
- Toss with butter or olive oil, salt, and pepper.
To dress this up, add a sprinkle of your favorite seasoning blend (such as garlic herb, lemon pepper, or Everything Bagel seasoning) or top with crumbled bacon.
Garden Thoughts
For me, gardening isn’t about producing hundreds of pounds of vegetables or becoming self-sufficient. It’s about slowing down, enjoying the seasons, and discovering that even a small garden can bring beauty, fresh food, and satisfaction to everyday life. Sometimes a row of green beans is all it takes to remind us why we planted a garden in the first place.
Looking for more garden to table ideas? Read my post: The Homegrown Gardener’s Guide to Growing, Cooking and Living with the Seasons.