Grow, Harvest and Eat Celeste Figs: A Garden to Table Guide
Growing Celeste figs from orchard to table is perfect for the beginner gardener whose space is limited.
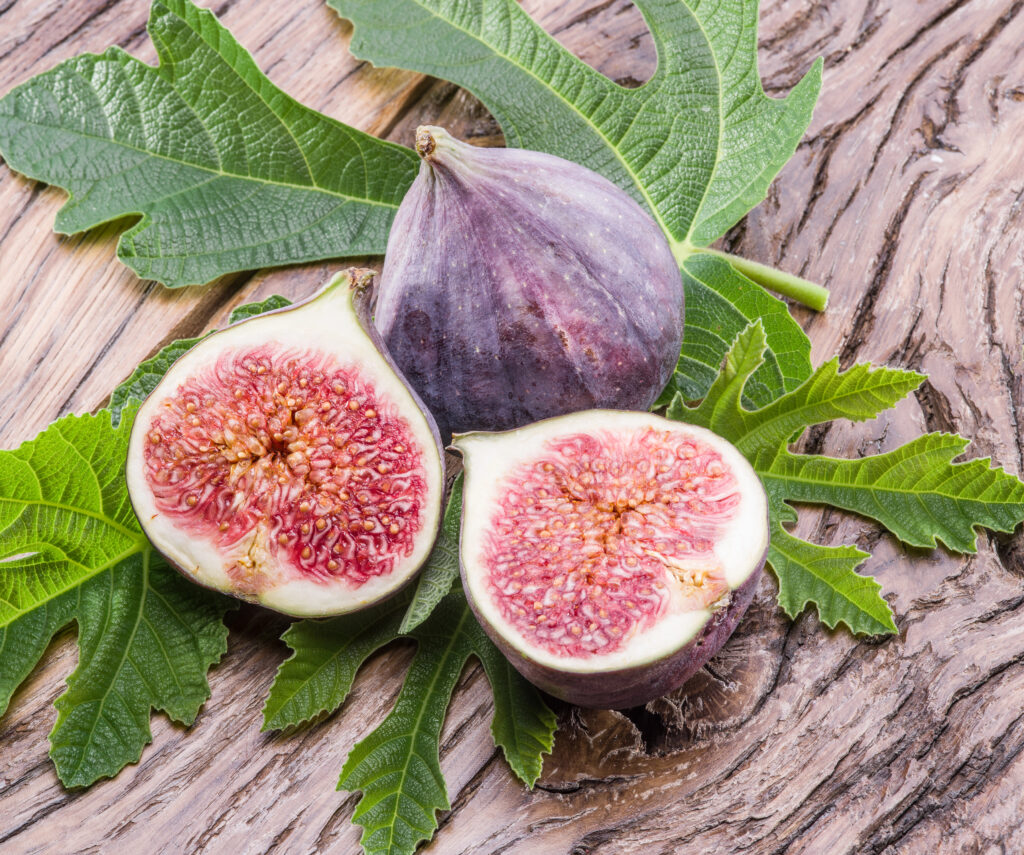
Learn how to grow Celeste figs and harvest them at the right moment for ultimate sweetness. Then dive into some delicious easy-to-make recipes featuring your very own homegrown figs.
When summer is in full swing, my orchard is buzzing with pollinators and producing all kinds of fruit. And while I might struggle with the apple trees (that’s a post all by itself), my fig trees always perform well.
Specifically, my Celeste fig trees are winning the award for “Best in Orchard” this summer.
They have been extremely low maintenance and productive- perfect for the gardener with little time and little space!
About Celeste Figs
Celeste figs are extremely popular among home growers and for good reason!
Description
- Also known as sugar figs due to their deliciously sweet flavor
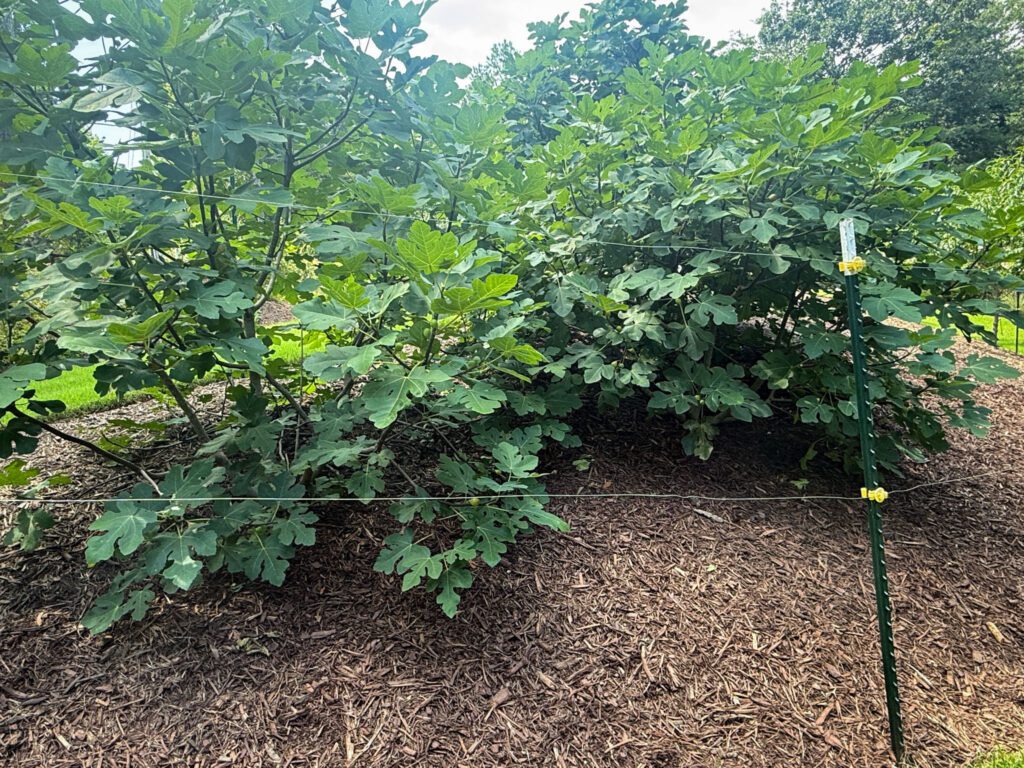
- Grow 6-10 feet tall and wide
- Abundant small to medium sized fruit
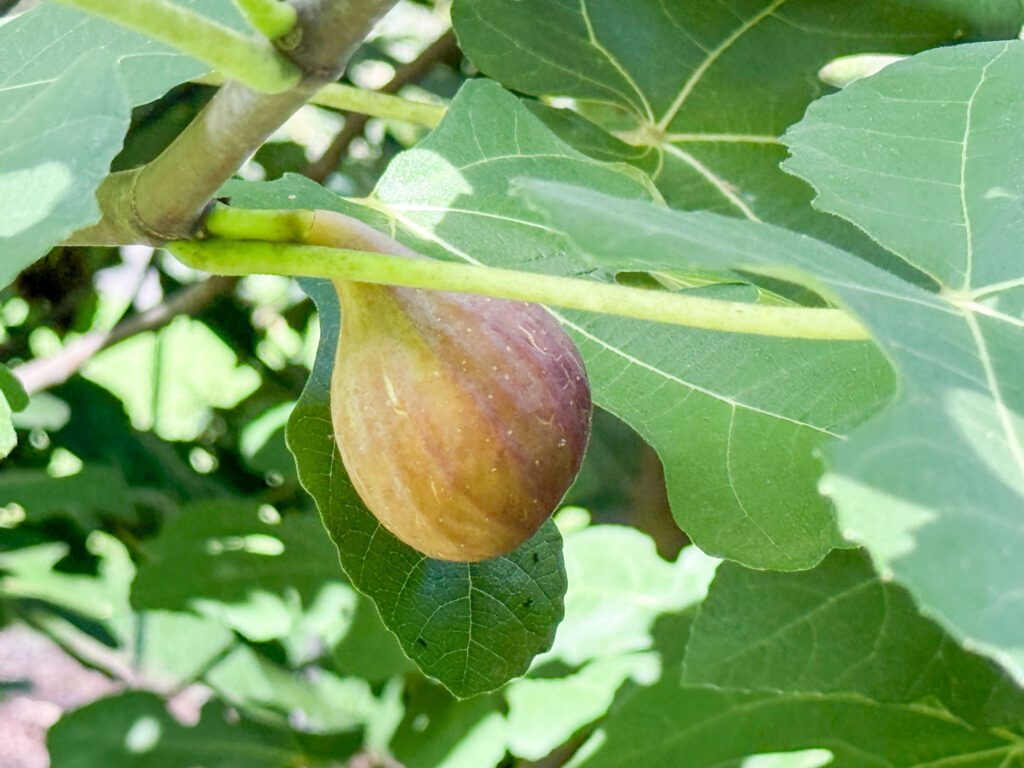
- Figs ripen from light green to a light brown and purplish-bronze color with pink flesh
- Heat and humidity tolerant
- Self-pollinating
Growth Requirements:
- Full sun
- Nutrient rich well-draining soil
- Hardy in zones 6b-10 with some winter protection in colder climates
- Water deeply and consistently to establish new trees
Easy to grow and perfect for containers, the Celeste fig tree will handle extreme heat like a champ and produce plenty of fruit for your edible landscape.
How to Plant Fig Trees
Depending on your space and growing conditions, you can plant your fig tree either in the ground or in a container. There are benefits to both.
Planting Fig Trees in the Ground
Dig a hole twice the size of the root ball. I like to save some of the native soil from the hole I dig and mix it with soil conditioner and compost. This gives the tree a healthy start when adapting to its new home, but also tells it, “Hey, the soil surrounding your root system goes beyond this nice new hole you’re sitting in…stretch out!”
Ginger Tip!
Roots do not grow in air. Tamp the soil down around the roots firmly when planting to eliminate air pockets. This encourages better root growth and hence more water absorption.
The first season will need consistent deep watering to help the roots get established. I highly recommend drip irrigation if you have it. After that, Mother Nature and a little help during extreme heat waves will be sufficient.
Benefits of planting in the ground:
- Once established, nature handles most of the work
- The fig tree has room to grow fully
- Fig trees are beautiful in the landscape
Planting Fig Trees in Containers
Plant your young fig tree in a container with drainage holes that is large enough to allow for root development and heavy enough to prevent wind from toppling it over. This would be in the 3-5 gallon size range.
For reference, picture the size of the 5-gallon buckets at Home Depot when shopping for new containers.
Also keep in mind that bigger pots mean bigger trees and more fruit, but they will be heavy! Plan appropriately, especially if you are in a colder climate (below zone 8 or 7) where you will need to provide some winter protection like bringing them inside a garage, basement or sunroom.
Benefits of planting in containers:
- Maximize small garden space like a balcony or patio
- Keeps the tree smaller in size
- Flexibility with moving it to warmer locations seasonally
- You can take it with you if you move
Ginger Tip!
Container-grown plants dry out quickly and flush out nutrients faster than in-ground ones. Keep up with watering and fertilizing schedules.
How to Fertilize Your Fig Trees
When it comes to fertilizing my fig trees (and most other plants in my garden), I like to keep it simple. Let’s face it, we all get busy. Life happens.
Therefore, one of the first things I do when establishing new plants is fertilize them with a slow release fertilizer like Osmocote. Sprinkle a handful around the base of the plant and each time you water, a little bit of fertilizer is released into the soil.
Every spring, wake up the garden with a nice application of your slow-release fertilizer and it should last for the season. For example, Osmocote lasts for approximately six months-perfect for the mid-spring to early fall season.
After that initial application, monitor your trees for any deficiencies and adjust with supplemental fertilizer, if needed.
Problems or Pests with Celeste Fig Trees
I have not experienced many problems with my fig trees. They are such reliable performers in my garden! I do want to point out something I learned recently, though.
Once your figs are ripe enough to harvest (see the following section), you will need to harvest them quickly and frequently-like every day. It’s important to harvest ripe fruit quickly instead of leaving it on the tree because the sweet fruity juiciness will attract insects, especially if the figs are past ripe and actually decaying.
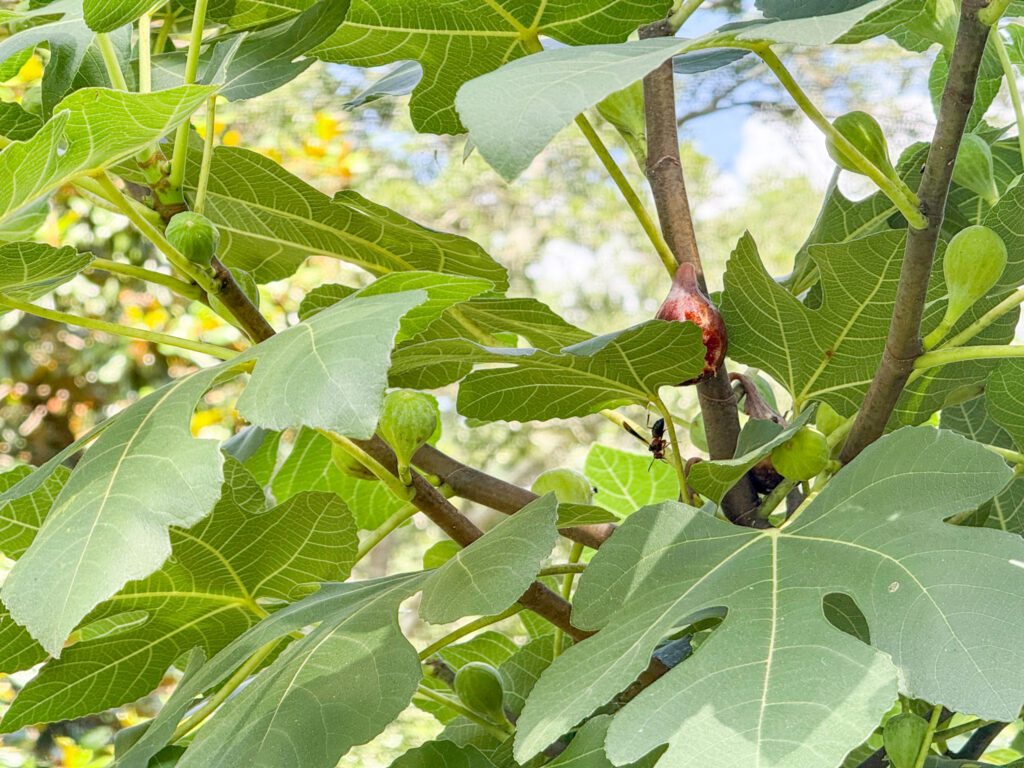
Wasps, hornets, flies and June bugs will feast on the fruit ruining it before you can pick it. I try to live in harmony with all of the critters, and sometimes that means I need to be one step ahead of them.
If you have to be out of town while your figs are ripening, be sure to harvest as much as you can before leaving them unattended, even if that means harvesting some that are not fully ripe. Those can be used in recipes, just not eaten as freshly picked figs.
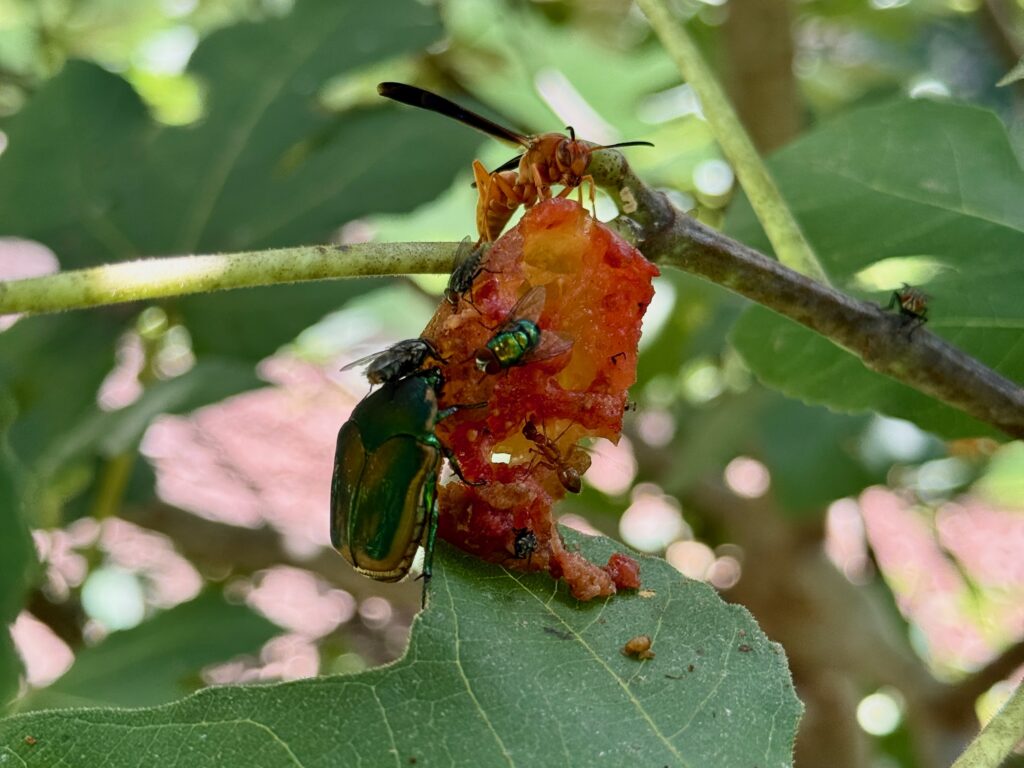
If you do end up with a mass of June bugs (aka: fig eater beetles), grab a bucket with a few inches of water in the bottom and add some dish detergent. Walk around your fig tree and knock them into the soapy water. They are completely harmless and are actually really striking in appearance, but will destroy your fruit if left unchecked.
By removing as many as you can, AND removing any overripe figs/fragments-you can get them under control very quickly without spraying any chemicals.
As far as the wasps and hornets go, I leave them alone and tread lightly in the fig trees when they are buzzing. Exercise caution!
When to Harvest Figs
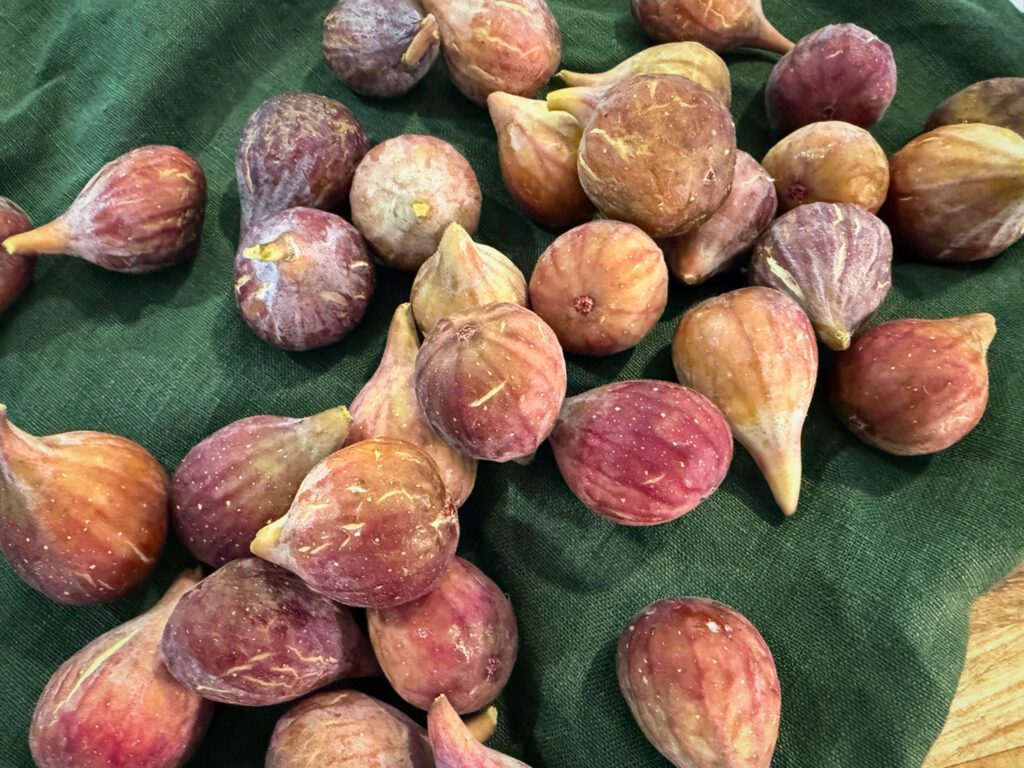
This might be the most important part of this post-when to harvest figs. It’s very confusing to gardeners new to growing them and with so many varieties-how do you know when it’s time?
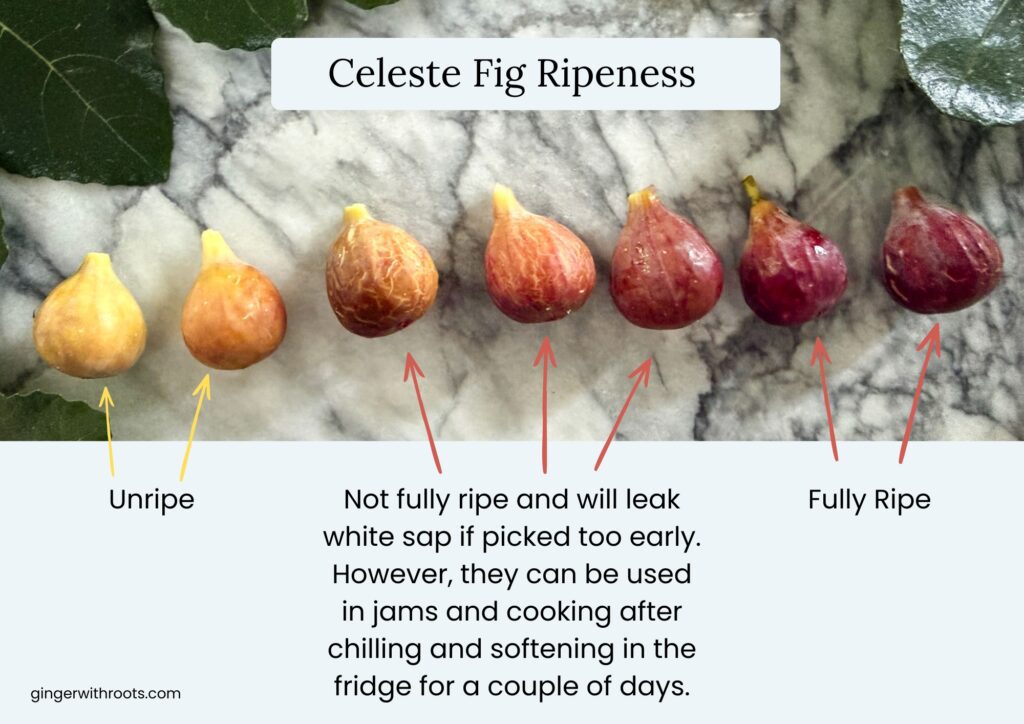
With the Celeste variety of figs, there are a couple of tips to know how to pick them when they’re ready.
- look for a brownish-purplish color
- the fig should be tender, not firm
- the skin might be cracking slightly
- if white sap is leaking from the stem, you picked it too early
- figs do not ripen after picking
To pick a fig, grasp the stem and twist it backwards and snap it off the branch. Gently collect them in a basket or bucket. Very ripe ones can smush if handled too roughly-so be careful.
Ginger Tip!
If you picked a few figs too early, it’s okay! Save these for cooking instead of fresh snacking. The sugars added in jams and sauces help sweeten the fig flavor.
How to Store Figs
After harvesting your figs, bring them inside for an immediate cleanup and short-term storage. I give mine a quick rinse under cold water and arrange them on a stack of clean paper towels to dry.
Short-Term Storage
I also inspect them more closely during this part in case there is bug damage that I missed while picking. Discard any suspicious figs-bugs or mold are not welcome!
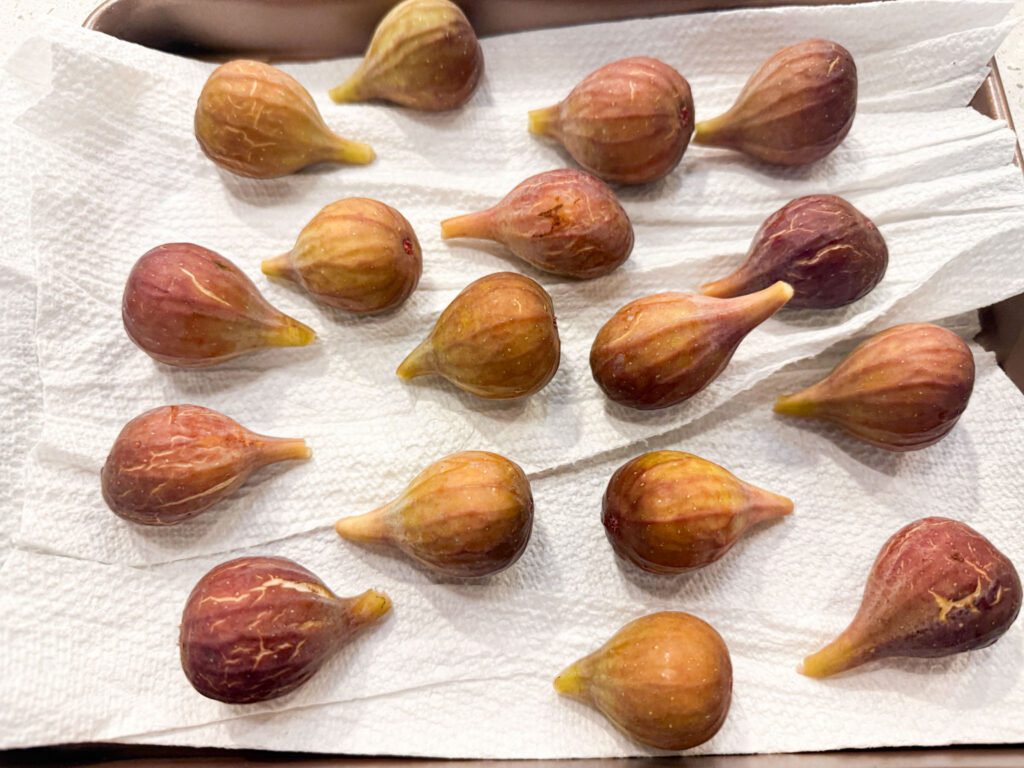
Once I have all of my figs clean and dry, I take a jelly roll pan and line it with dry paper towels. Then I arrange the figs on the towels without touching each other to avoid spoiling. This goes directly into the fridge where they will be okay for a few days.
Fresh figs do not last long-just a few days! So it’s important to have a plan for how you’re using them.
Dehydrating Fresh Figs
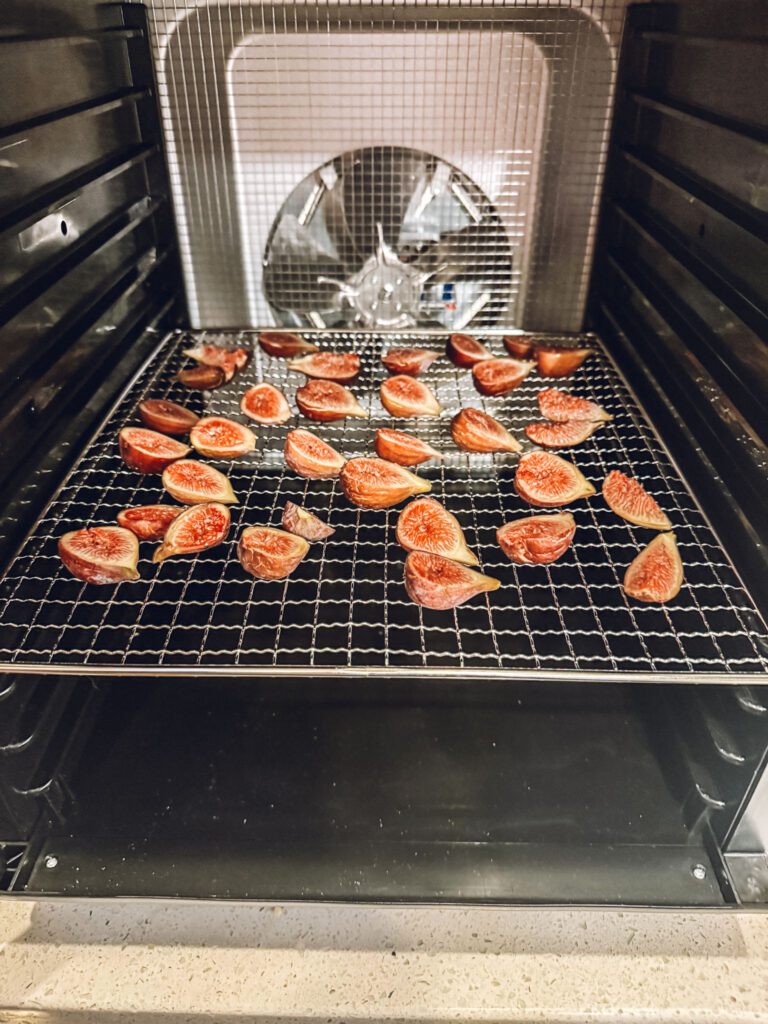
For long term storage, dehydrating figs is a great option. I use an electric dehydrator machine and have been extremely pleased with the results.
When using a dehydrator like the one I have, I find better results when using the dehydrator mats instead of the bare wire rack.
Dehydrated Figs
Equipment
- 1 Electric Dehydrator
Ingredients
- Fresh Figs
Instructions
- Rinse fresh figs under cool water and set one clean towels to dry.
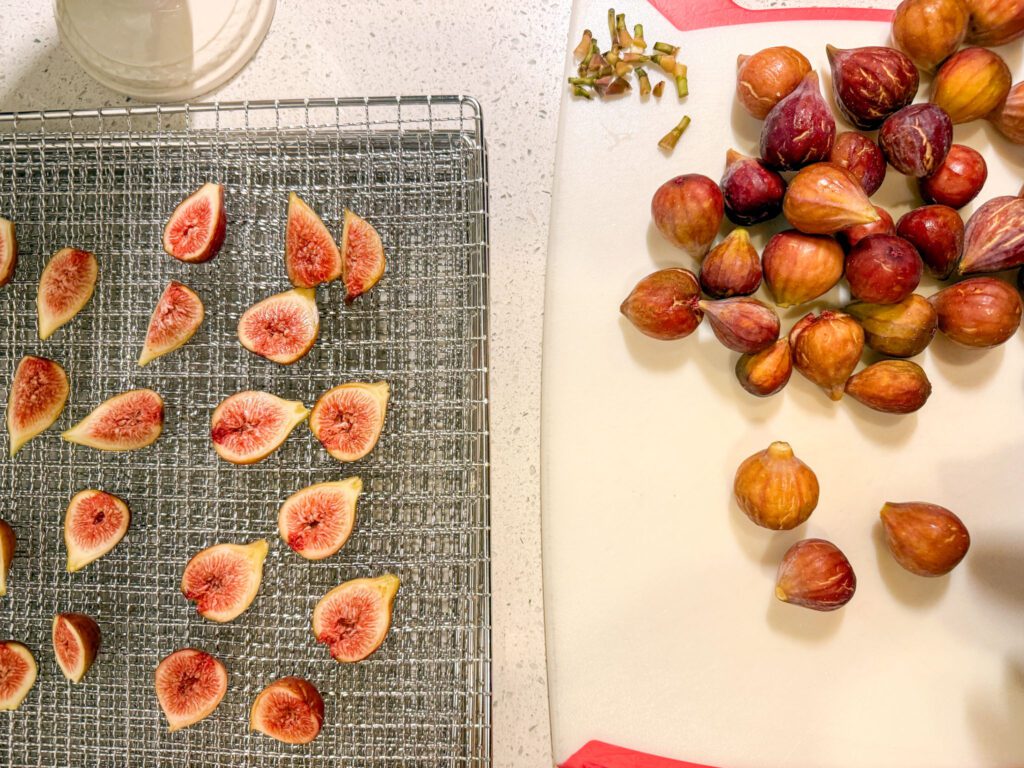
- Remove stems and halve or quarter figs with a sharp knife.
- Place fig pieces on the mesh dehydrator mats designed for fruits. Arrange them so that they are evenly spaced apart and not touching, skin side down.
- Add trays to dehydrator and dehydrate at 125°F for 8-10 hours. Check occasionally for doneness. They will be leathery and firm, but not sticky.
- Remove dehydrated figs and let them cool on the counter before storing in an airtight container or vacuum sealed bag.
Use dehydrated figs in homemade granola, trail mix, lunch box snacks, charcuterie boards-they are delicious snuggled up next to some distinct cheese and nuts.
Keep dehydrated figs in a glass airtight container for 6-12 months in a cool dark space. You can also freeze dehydrated figs in vacuum sealed bags for 1-2 years.
As with any preserved foods, check for spoilage signs like mold, sour smells, or sliminess and discard immediately.
Garden to Table Recipes with Figs
When living with seasons and investing time in the garden, the real rewards are felt in the kitchen. Taking something as simple as a bunch of figs and turning them into a restaurant worthy dish is satisfying to the soul.
Experiment with these simple recipes that bring complexity and flavor to the table straight from your garden.
Favorite Fig Recipes
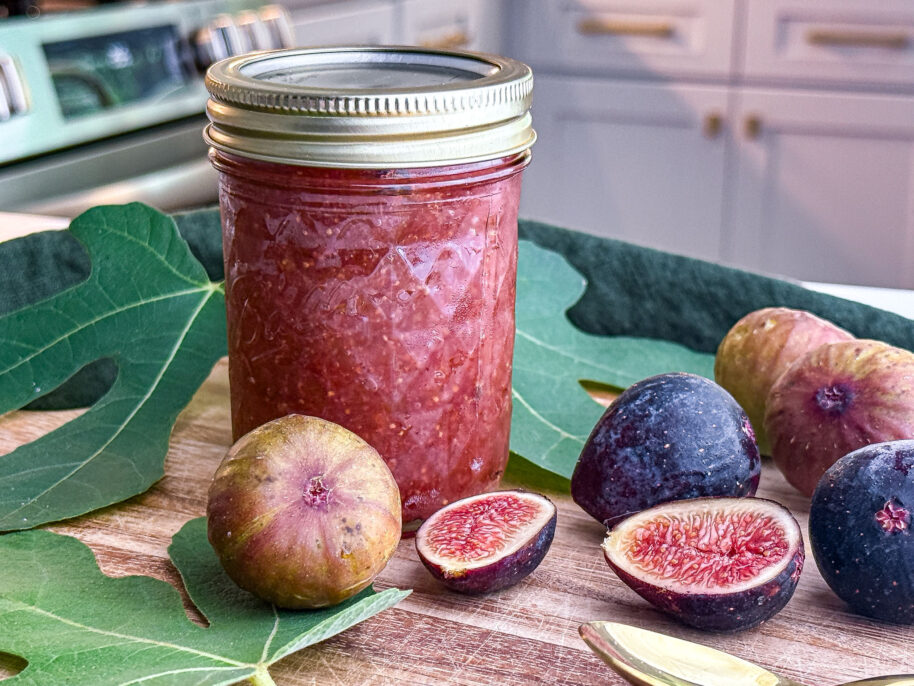
Small Batch Fig Jam
No canning required
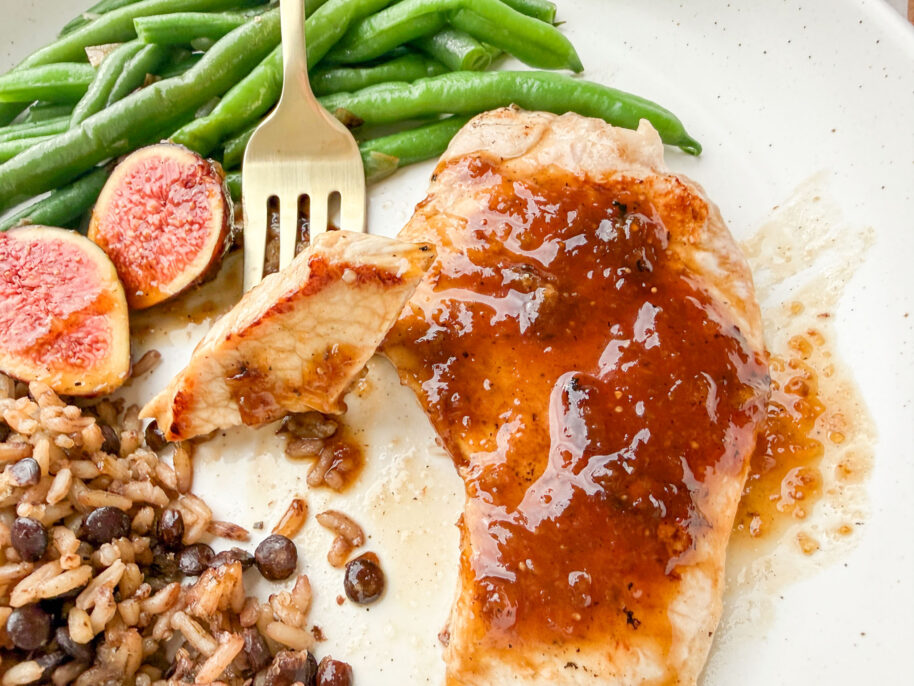
Pork Chops with Figs
Pan-seared and glazed

Air Fryer Figs
with honey
FAQ’s
Do Fig Trees Need Another Tree?
No, popular homegrown fig trees like Celeste and Brown Turkey do not require another tree. They are self-pollinating.
Can You Eat Fig Skin?
Yes, you can eat the skin and all parts of the fig including the seeds.
Can You Eat Fig Tree Leaves?
Yes, but they must be cooked or steeped first. Fig leaves are used to wrap other foods, dried to create a usable powder, and steeped in hot water and sugar to make syrup for cordials.
Growing Celeste Figs for the Beginner Gardener
Growing your own food isn’t just about harvesting vegetables. A single Celeste fig tree can provide years of sweet summer harvests that become homemade jam, simple weeknight dinners, and memorable desserts. It’s another reminder that the garden doesn’t end at the garden gate—it continues all the way to the table.
Keep track of your gardening experience in How to Start a Simple Garden Journal that You Actually Use.
From Garden to Table: Homemade Recipes Using Fresh Herbs, Fruits and Vegetables is the perfect place to start to learn more about creating a garden to table lifestyle.


Oh my goodness we have been making so many fig recipes we were just talking about how we should learn how to grow them! Thank you Dana for such a great and easy to understand post. Saving this for sure!
Thank you, Sidney! I have truly enjoyed harvesting so many figs this summer and will be making your Bacon Wrapped Figs with them!
What a great post about celeste figs! My mother-in-law grows them in her backyard and has offered to give me new sprouts. I may have to take her up on the offer now! How do they compare to Mission Figs? I use dried mission figs in many recipes and wondered if these could be used instead?
I find the Celeste figs are slightly smaller than the Black Mission figs and the Celeste flavor is much sweeter-almost fruity honey-ish. Black Mission is a more classic fig flavor. Depending upon the recipe, I would think you could swap them out for each other-you might need more Celeste figs though to have equal amounts.